Custom Upcycled Backpack with Patches
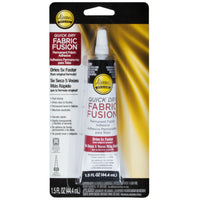
No one likes spending big bucks on a new backpack every school year. Instead of spending your hard-earned cash on a brand-new bag, upcycle an old one to give it some sweet new style. This tutorial from Oh Yay Studio will show you how to make your own custom upcycled backpack with patches and Aleene’s Quick Dry Fabric Fusion!
Step 1
Gather the supplies for your backpack with patches. Wash and dry your backpack to remove any dirt and grime— especially if you’re upcycling last year’s bag!
Step 2
Choose which chenille patches you want on your backpack with patches and begin to lay them out. Try organizing your patches in clusters, with a monogram, or even just a few on the front. You can customize the layout however you want the more patches, the merrier!
Step 3
Once you've decided which patches to use and where you want them, begin to glue them into place. Apply Aleene's Quick Dry Fabric Fusion on the back of the patch, close to the edges, and press the patch onto the backpack to secure. Repeat until your backpack with patches is designed to your liking!
Step 4
Allow glue to dry completely Aleene's Quick Dry Fabric Fusion dries five times faster than the original formula! Once the glue has dried, your custom upcycled backpack with patches is ready for the new school year!
Will you be using Aleene's glues to make your own upcycled backpack with patches? Show us your style for the upcoming school year and tag us on social media @AleenesDIY!