


How to Photo Transfer onto Canvas with Tacky Glue
Here at Aleene’s, we think that everything is better after adding your own personal touch! That’s why we’re all about photo transfer projects; you can add favorite images to decorative or functional items for a creative way to make them truly special to you. Not sure how this technique works? Mikyla Creates will show you how to photo transfer onto canvas journals using Aleene’s Original Tacky Glue and sealed with our Premium Decoupage.
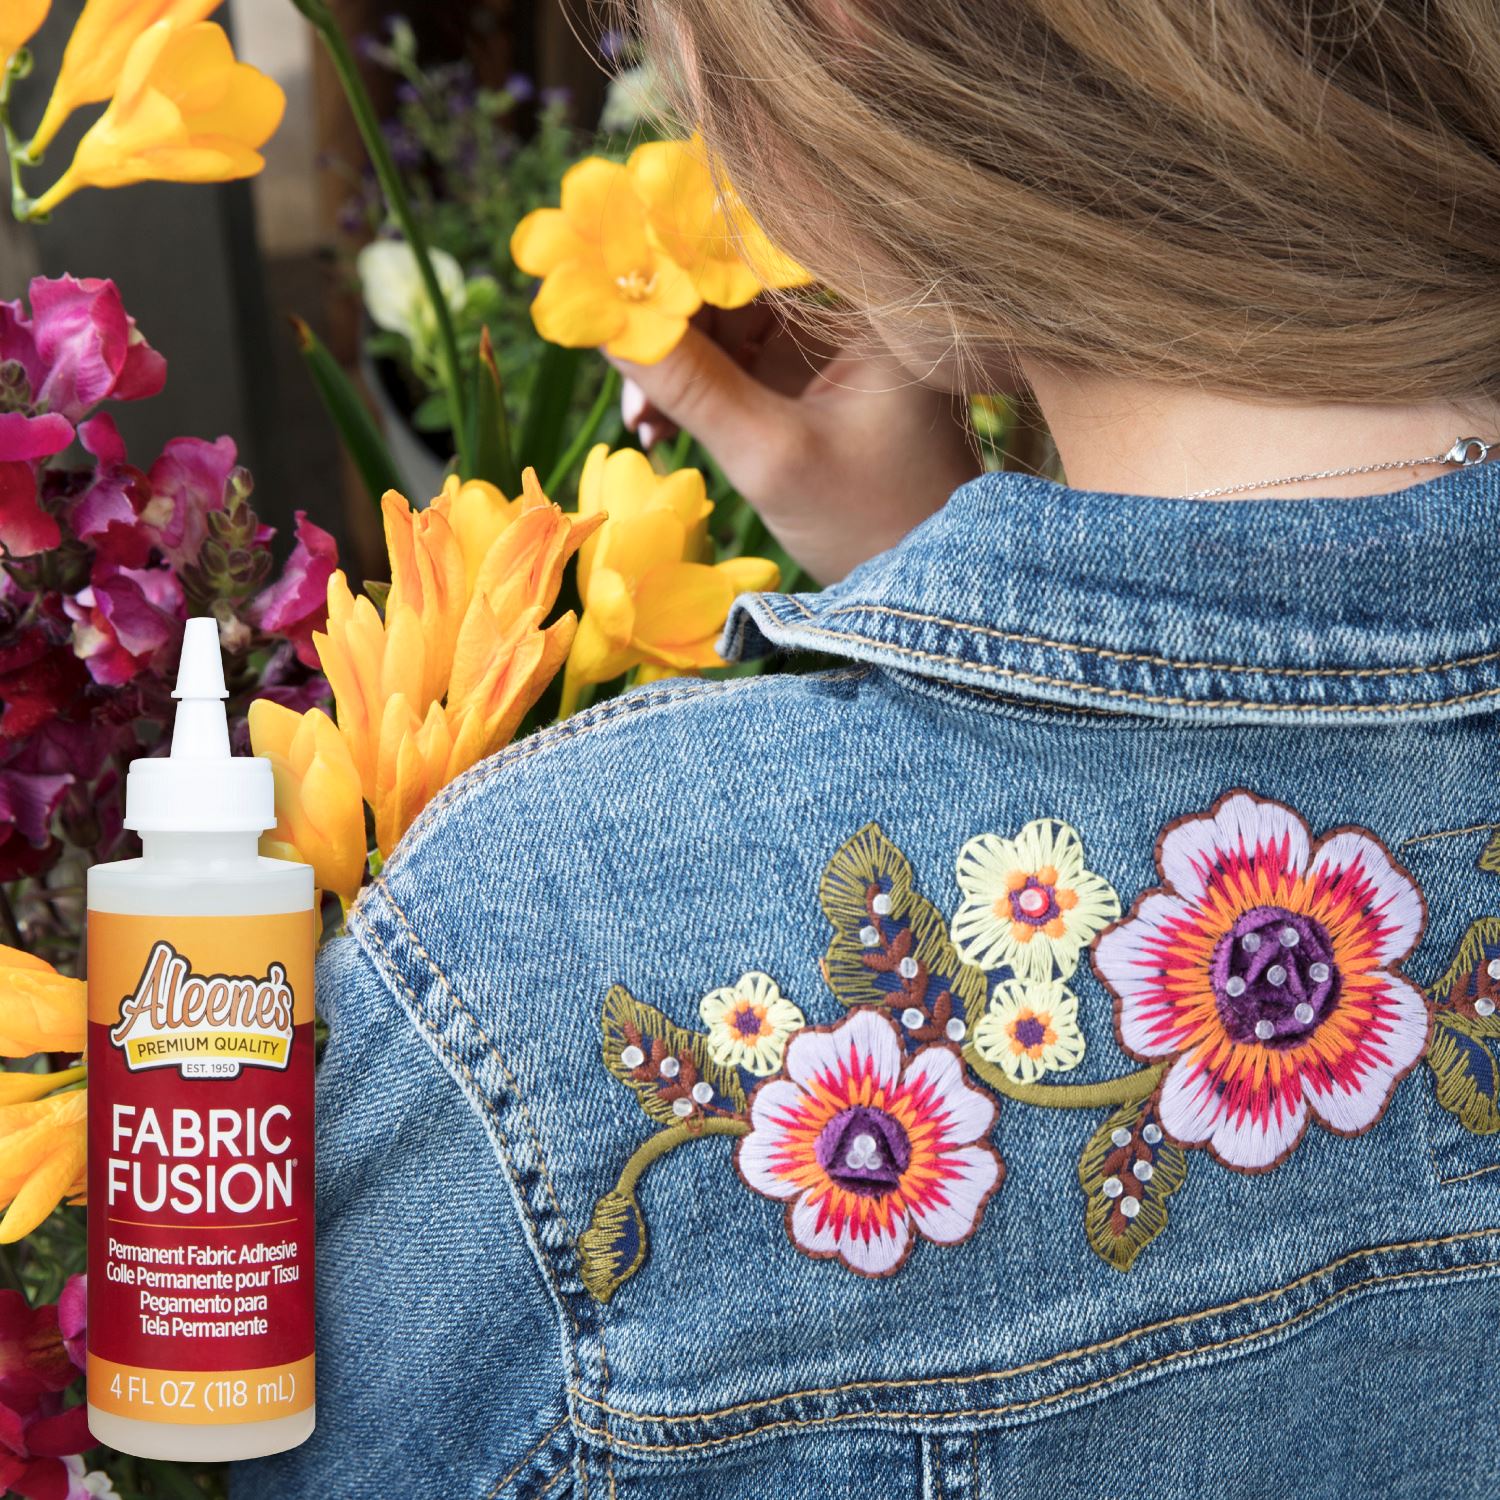
What you need:- Aleene’s Original Tacky Glue
- Aleene’s Premium Decoupage – Matte
- Canvas notebook(s)
- Inkjet prints of desired images
- Disposable foam brushes
- Scissors
- Spray bottle
Step 1

Now we’re going to show you how to photo transfer onto canvas journals! (This same technique can be used on other fabric items like art canvases, quilt projects and more.) For this technique you won’t need actual photos, but rather, inkjet prints of the images you want to use.
Step 2
If your image is larger than your project surface, you can always trim it down to size before getting started. Next brush a nice, even coat of Tacky Glue over the top of the image. Youll want to work kind of quickly so the glue doesn't start drying before the next step!
Step 3
Next press your image face (glue side) down on the top of your journal, smoothing around all areas with firm pressure. Let the glue completely dry (usually for at least a few hours) before moving on to the next part of the process.
Step 4
After the glue has dried, use a spray bottle to mist water over the backside of the paper to dampen.
Step 5
Once the paper has been properly dampened, use your fingers to gently buff away the top layer of the inkjet paper. Dont press too hard, as you could risk wearing away the image itself! Keep misting with water and gently buffing until all of the top layer has been removed and the image itself remains. Let dry.
Step 6
Dont forget to seal and protect the image with Decoupage before putting your new journal to good use! Brush a nice, even layer over the top of the image and allow it to dry completely.
Step 7
And that is how to photo transfer onto canvas! Pretty easy, right?! Didn't these journals turn out so lovely?
Step 8
This personalized project also makes a great gift for family and friends! What other photo transfer projects are you making with Aleenes? Tag us on social @aleenesdiy and share your creations with us!


