No-Sew Patchwork Bucket Hat with Fabric Glue
Looking for another fun no-sew fashion project? You’ll love this cute and colorful craft from Oh Yay Studio! Learn how to bring all sorts of patterns, colors, and designs together on one unique patchwork bucket hat with Aleene’s Fabric Fusion. This patchwork project is a great way to use up any extra fabric scraps you have lying around!
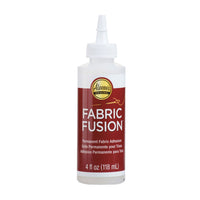
What you need:- Aleene’s Fabric Fusion
- Bucket hat
- Scrap fabrics
- Scissors
Step 1

Gather your supplies for this project. Wash and dry your hat if needed— this is especially helpful if you’re upcycling an old hat! Visualize the pattern you’d like your patchwork hat to have. For this project, Oh Yay Studio created a patchwork rainbow gradient!
Step 2
Cut scraps of fabric into patches. Working one piece at a time, apply Aleenes Fabric Fusion to the backside the patch.
Step 3
Press the patch onto the hat to secure. It's important to make sure the edges of each piece are glued down!
Step 4
Repeat steps 2 and 3 with your fabric patches until your hat is covered in a cute patchwork pattern! It helps to slightly overlap each patch when gluing them to the hat.
Step 5
Use sharp scissors to trim any excess fabric if needed, and allow your patchwork hat to dry completely. Your no-sew patchwork bucket hat is now ready to wear!
Are you a fan of patchwork fashion? Create your own no-sew patchwork bucket hat with Aleenes! Tag us on social media @AleenesDIY and show us your unique patchwork style!


