Sequin Hat DIY
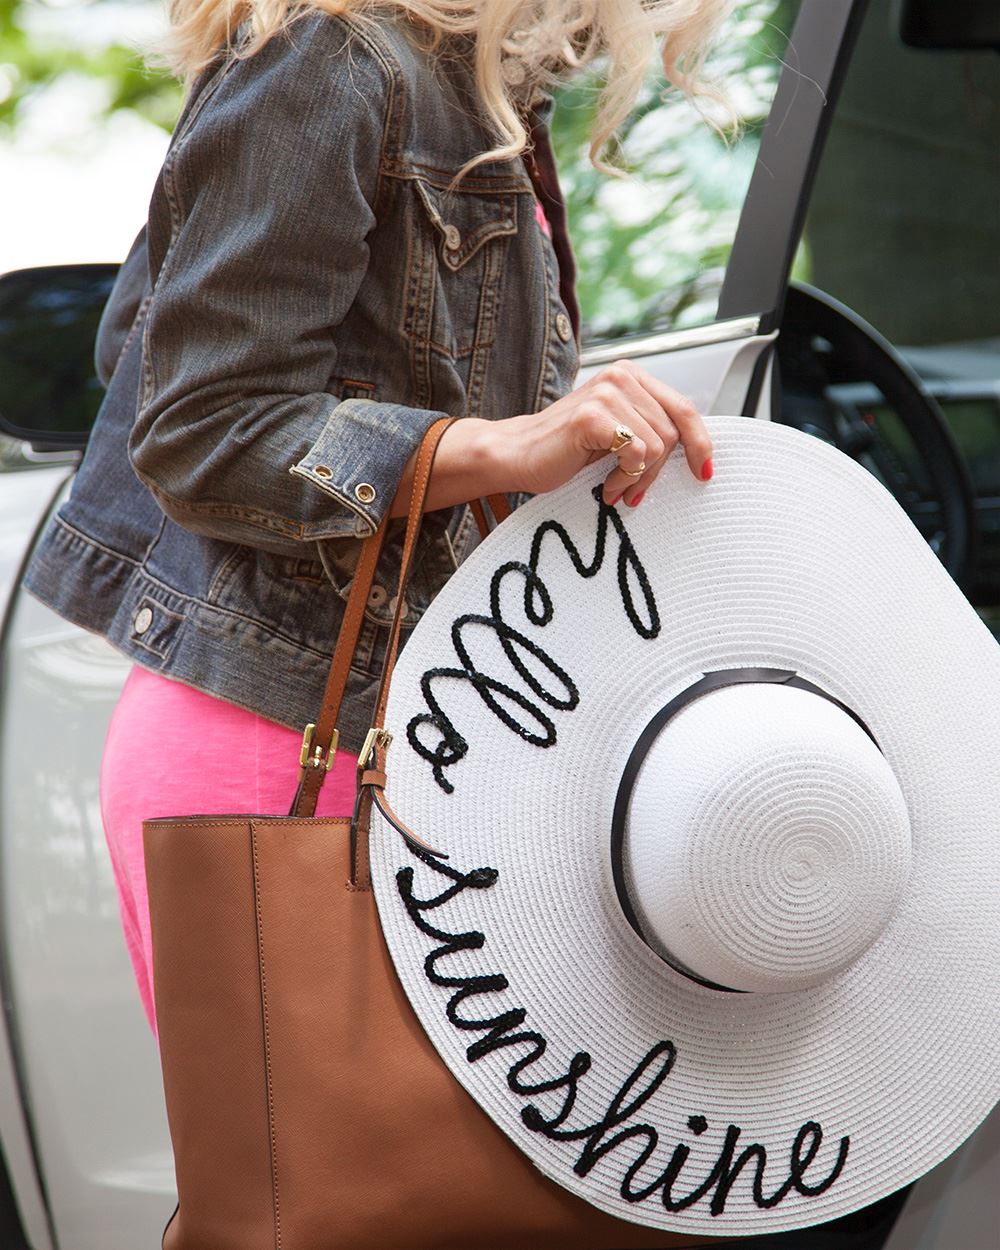
I love this time of year when the weather’s getting warmer, the days are getting longer, you see bright colors everywhere, and all the fun accessories that the summer brings. One of my all time favorite accessories for summer is a big floppy hat; they work great to cover up windblown hair, keep those harmful sun’s rays off your face, and make any outfit look so much more put together. So I thought it would be fun to make a fun Sequin Hat DIY, and you’ll be amazed at how simple and quick it is to make!
What you need:Hat
Sequin trim (3 yards approx depending on design)
Ribbon
Scissors
Toothpick (optional but very helpful)
Design
Pencil
Fabric Marker

CREATE YOUR TYPOGRAPHY DESIGN
The first thing youll want to do is to create your design and decide where youll want it on your hat. (I really dont recommend winging it unless youre a pro.) You can do this by laying out tracing paper right on your hat, drawing guidelines, and then draw your design. You can also create your design in Illustrator or Photoshop and print it out, or print the design at the bottom of this post.
TRANSFER YOUR DESIGN TO YOUR HAT
Once you have your design and know where you want to place it on your hat, a simple way to transfer it is to tape your paper onto the brim of your hat (making sure your hat is on a hard surface like a table, not carpet) then using a sharp pencil poke holes through your paper and onto your hat all the way around your design to give you a line to follow for your sequins.
While I was doing this my pencil didnt really show that well, so I used a fabric marker to mark through the holes I poked with a pencil, then I went back and connected the dots to make it easier to see.

ADDING THE SEQUINS TO YOUR HAT
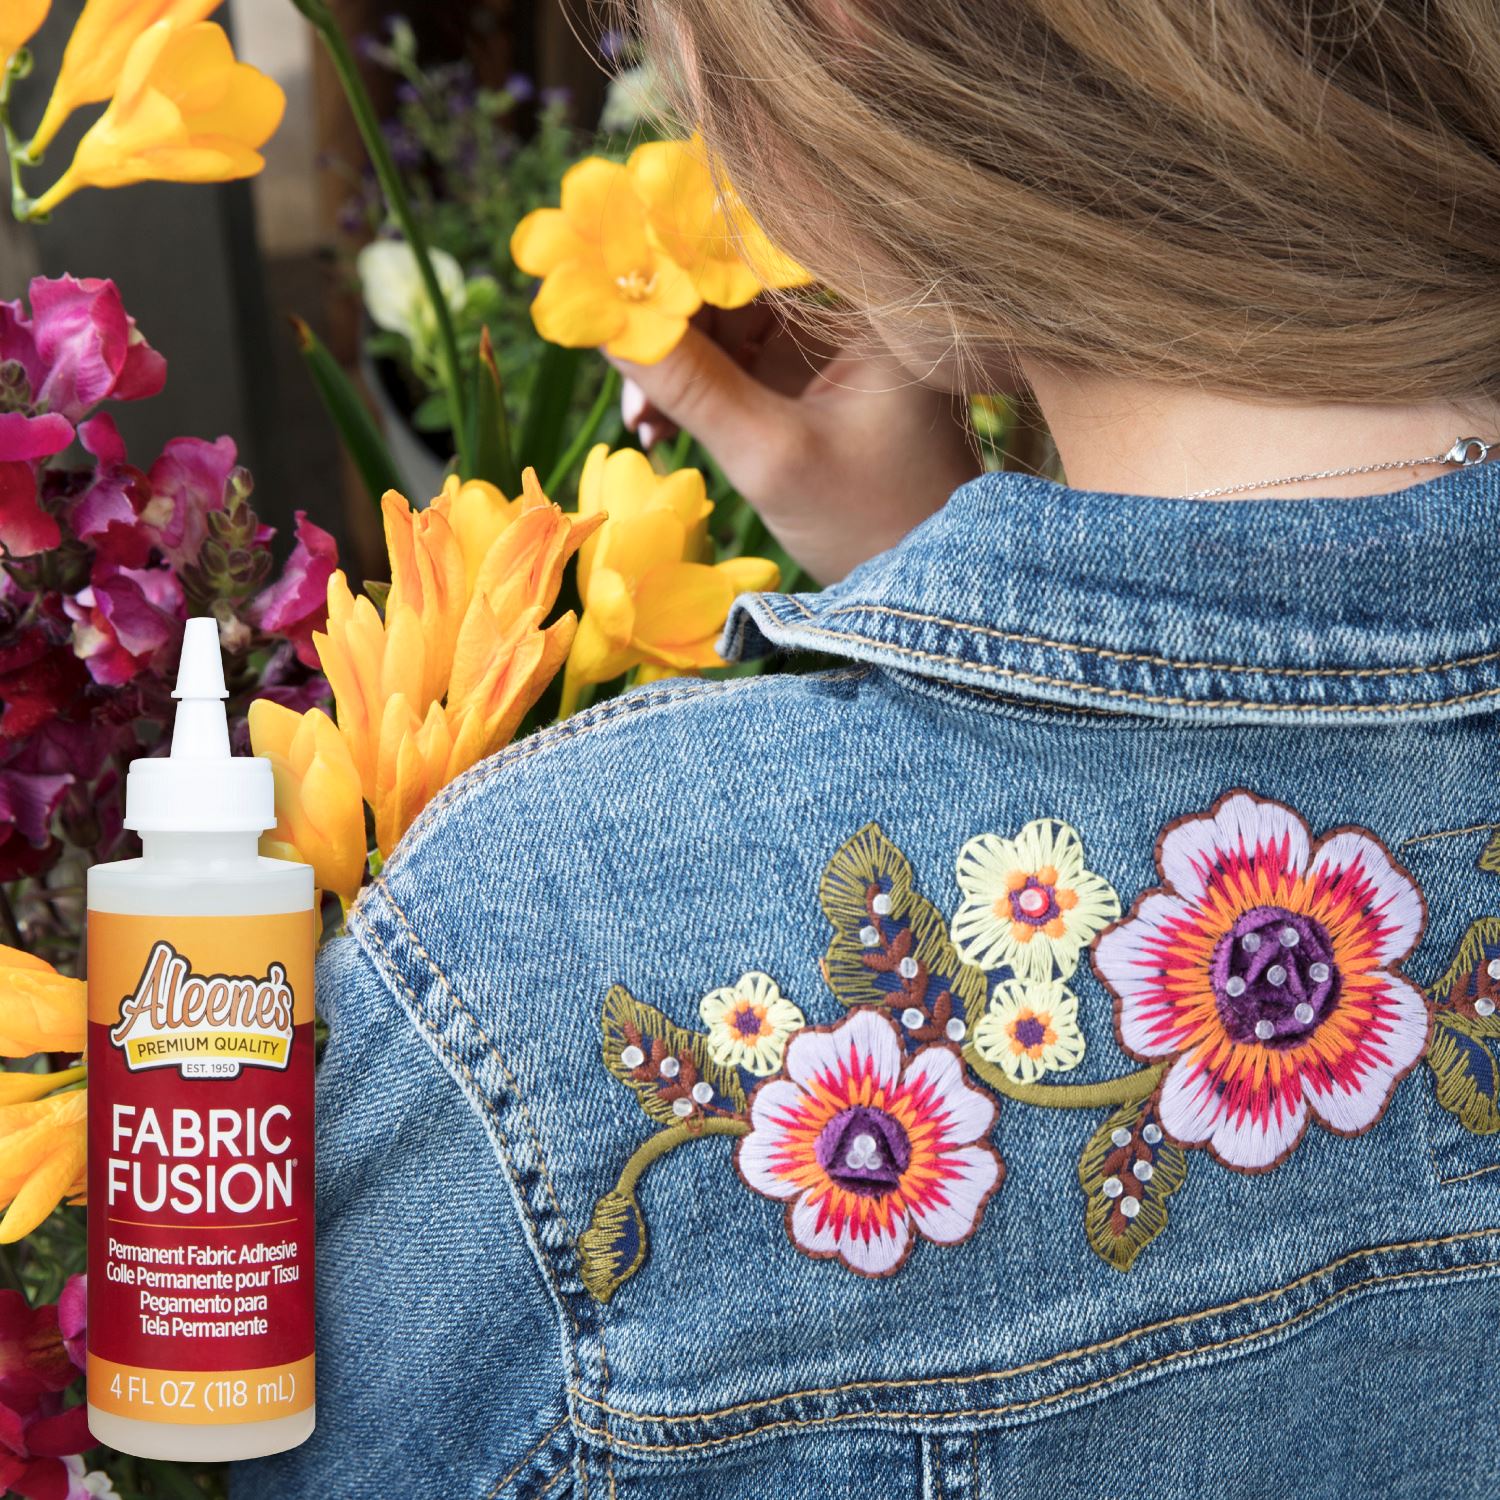
To add your sequins to your hat start by adding your Fabric Fusion to your hat along your design.

Fold the end of your sequin trim over one or two sequins before starting to give you a nice end, press the sequin trim onto your glue. Work slowly either letter by letter or small sections at a time.
I found that using a toothpick to nudge the sequins where I wanted them worked really well, much better than fingers.
When youve finished adding all your sequins to your hat, let it dry for at least 2 to 4 hours, or until its completely dry before wearing.
NOTE:
I used about two and a half yards of sequin trim for this project. Depending on the design you use and the size of your design you may need more or less. I recommend buying a little extra, better safe than sorry.

Let it dry. Enjoy your new custom accessory!


