


Preserved Moss Wall Art Frame with Tacky Glue and Adhesive Spray
Add a touch of serene greenery to any space with moss wall art! This tutorial will show you how to create a preserved moss wall art frame with Aleene’s DIY Craft Heavy-Duty Adhesive Spray and Tacky Glue. Preserved moss offers a natural, rustic ambience that requires no maintenance to keep its lush color and texture— it’s the perfect way to bring the beauty of nature indoors!
Supplies Needed:
Aleene’s DIY Craft Heavy-Duty Adhesive Spray
Wooden frame
Preserved moss mat
Preserved Spanish moss
Assorted faux flowers and foliage
Disposable cup
Scissors
Permanent marker
Wire cutter
Protective surface cover
Twine or picture hanging hardware (optional)
Step 1 Trim the moss mat
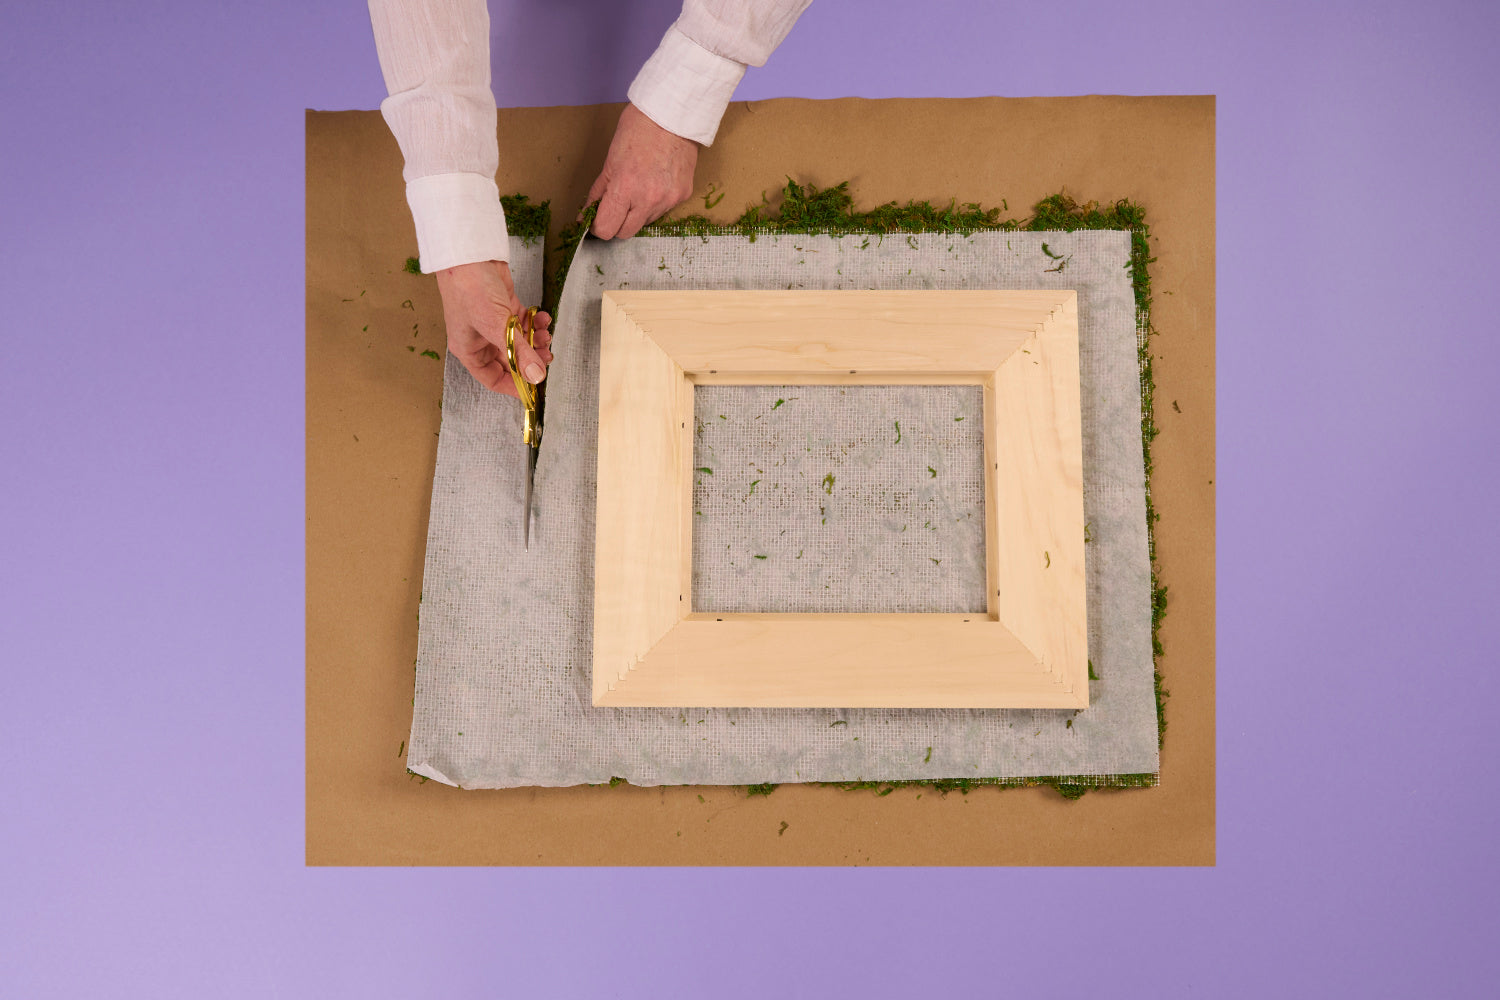
Before you get started on this preserved moss wall art frame project, cover your work area to protect it from overspray. Roll out the moss mat with the paper backing face up and place the frame onto the moss mat. Use scissors to trim the moss mat 2-3 inches larger than the frame.
Step 2 Trace and cut
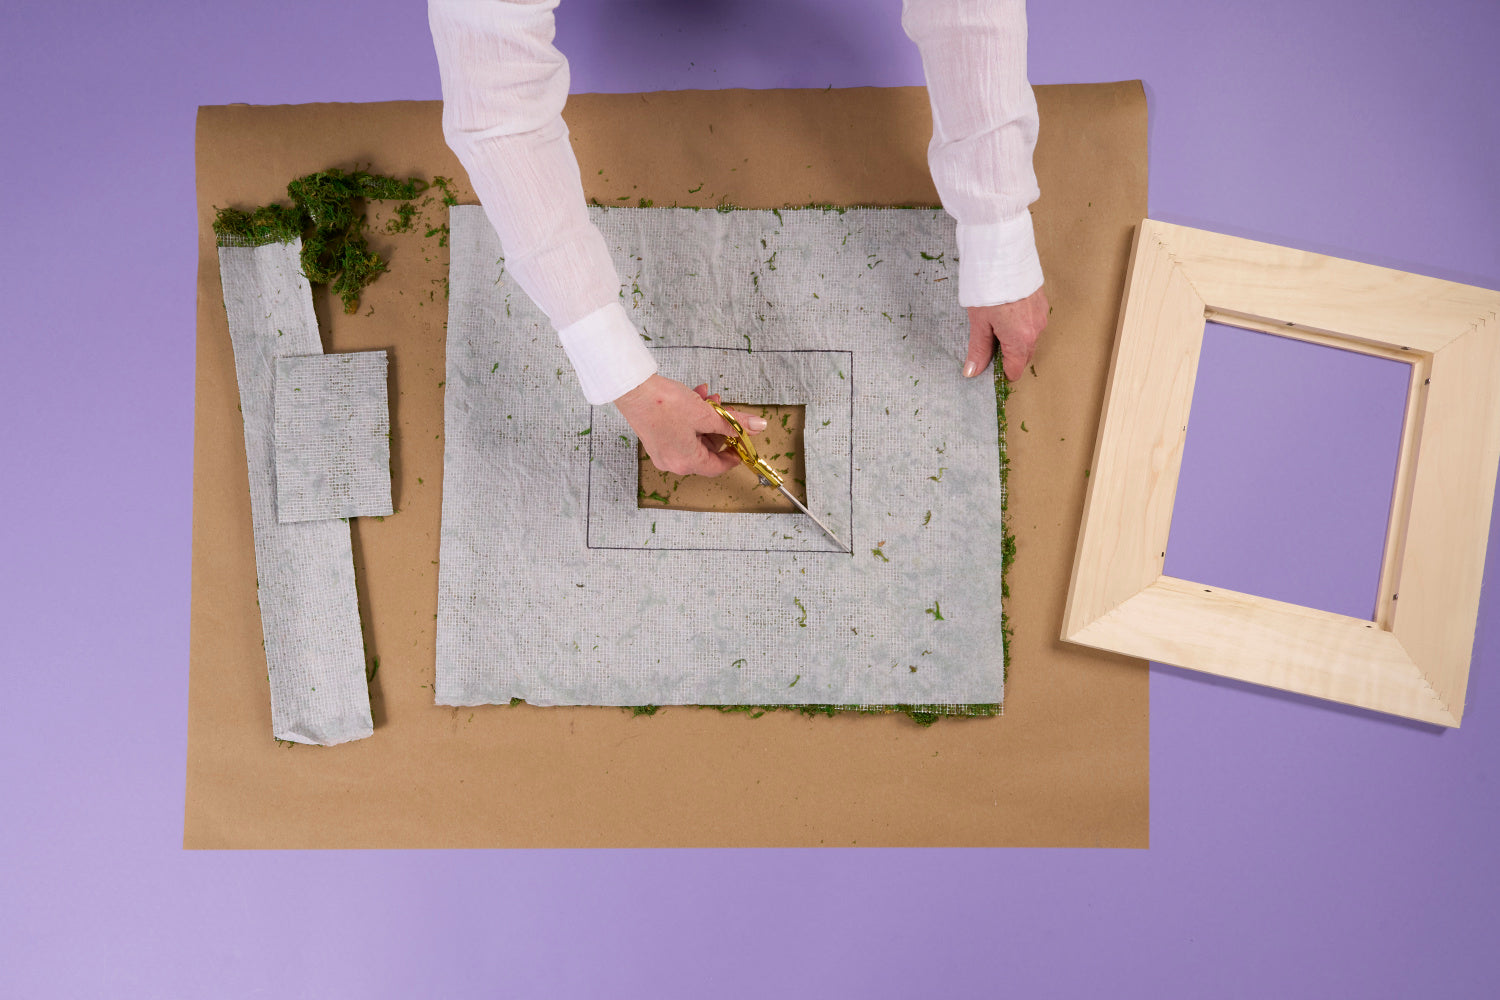
Use a permanent marker to trace the inside of the frame onto the moss matt. Cut the center of the mat 2-3 inches smaller than your marking, then cut a diagonal slit in each corner.
Step 3 Cut outside corners

Cut off the outside corners of the moss mat. Keep these scraps to use for another preserved moss project!
Step 4 Apply adhesive spray
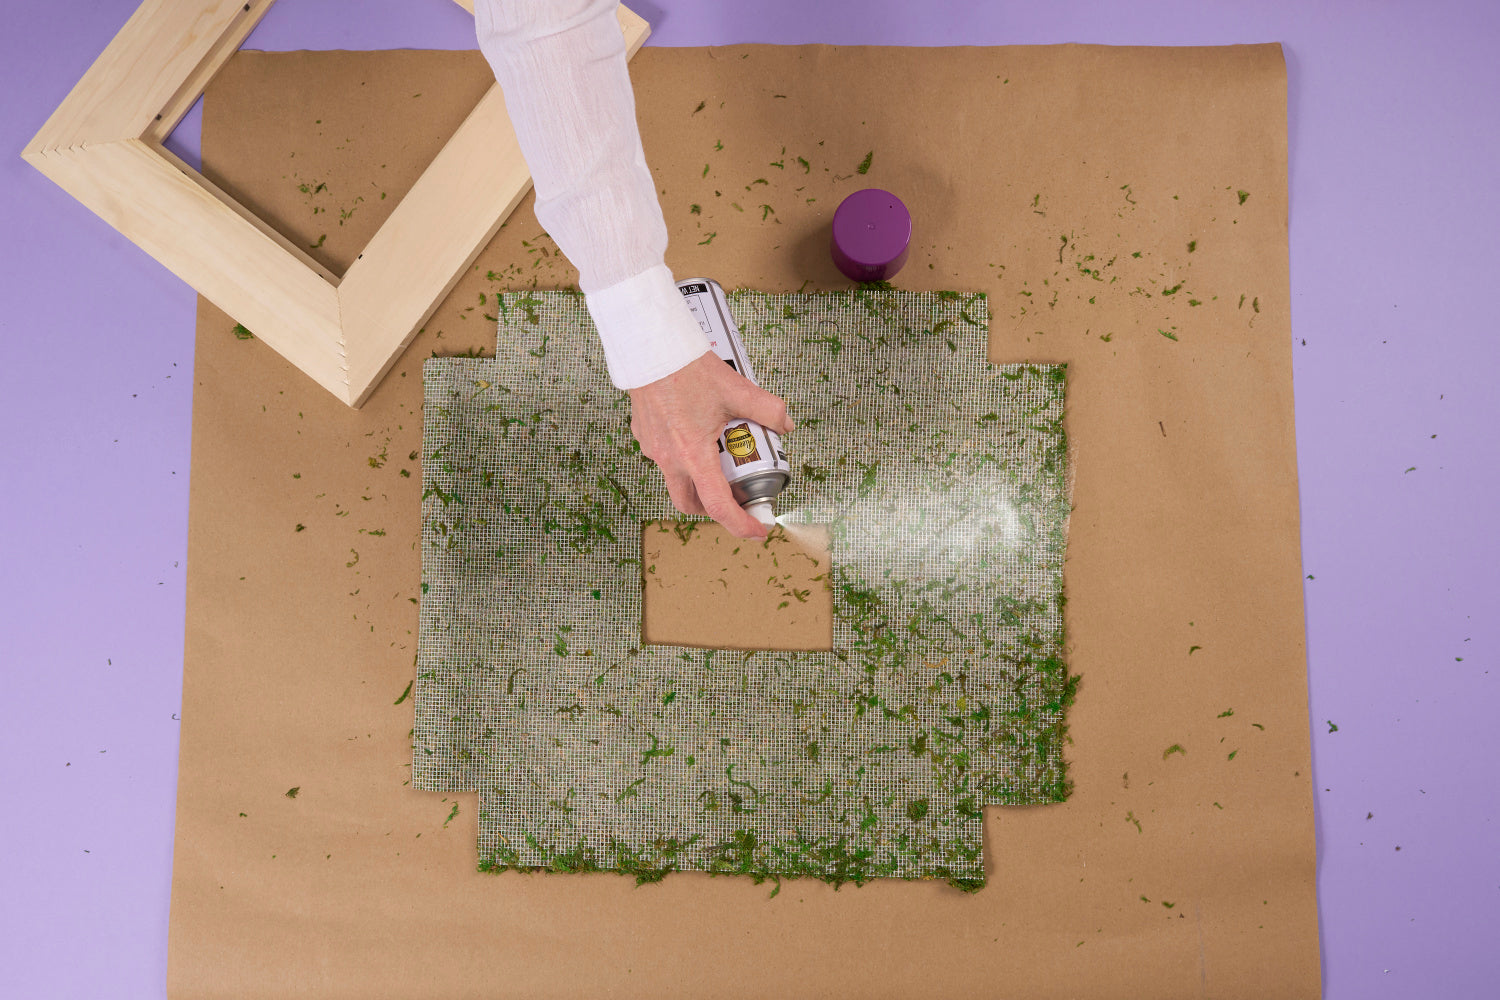
Peel the paper backing from your moss mat and spray with an even coat of Aleene’s DIY Craft Heavy-Duty Adhesive Spray. Be sure to shake the can well and hold 6-8 inches from the surface while spraying.
Step 5 Fold moss to cover frame

Place the wooden frame face-down onto the moss mat and press to secure into place. Fold and press the inner and outer edges of the moss mat to cover the frame.
Step 6 Add Spanish moss

Flip the frame so the preserved moss is facing up. Apply adhesive spray to a clump of preserved Spanish moss and press into place on the corner of your preserved moss wall art frame. Repeat to add Spanish moss to each corner.
Step 7 Arrange faux foliage

Use wire cutters to clip your faux foliage into small stems. Place the foliage onto your frame and plan the design for your preserved moss wall art frame. Use a variety of foliage, such as faux leaves, berries, and flower buds, to add extra depth and dimension to your moss wall art!
Step 8 Secure with Tacky Glue
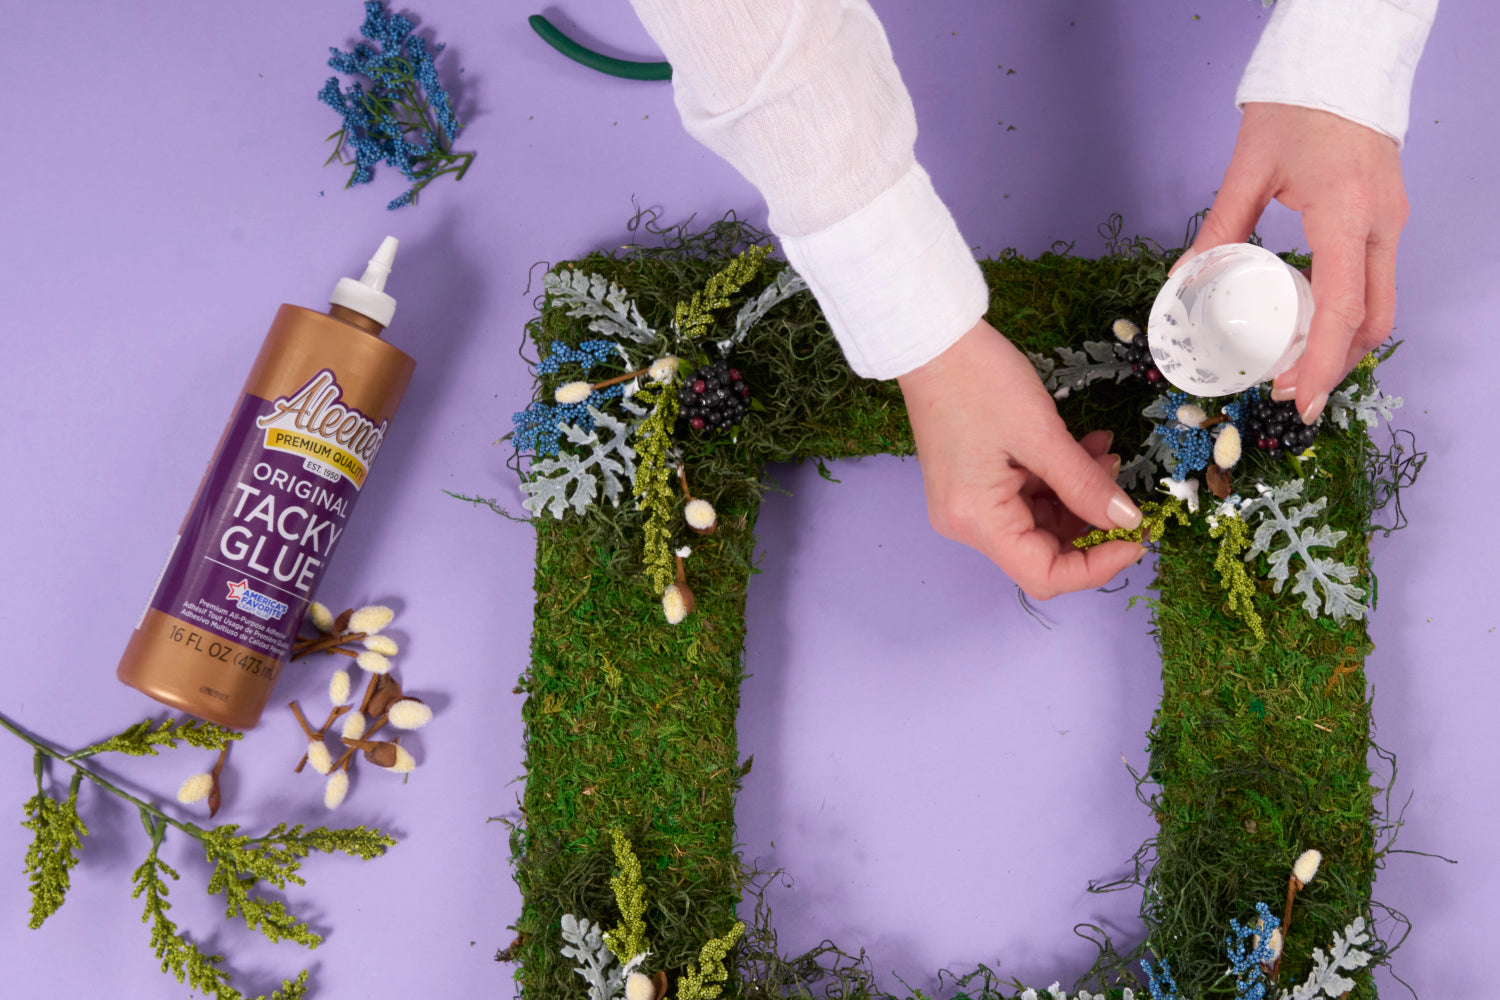
Pour a small amount of Tacky Glue into a disposable cup. Dip each stem into the glue, then arrange into the preserved moss wall art frame as desired. Allow the glue to dry completely.
Step 9 Display!

Use twine to hang your preserved moss wall art frame for a rustic vibe, or use picture hanging hardware for a seamless display. This moss wall art is a whimsical way to showcase artwork and can be used as an eccentric mirror frame, too!
Creating preserved moss wall art is easy when you have Aleene’s glues! Show us your nature-inspired crafts and tag us on social media @AleenesDIY!


