How to Make Dried Flower Candles with Decoupage Glue
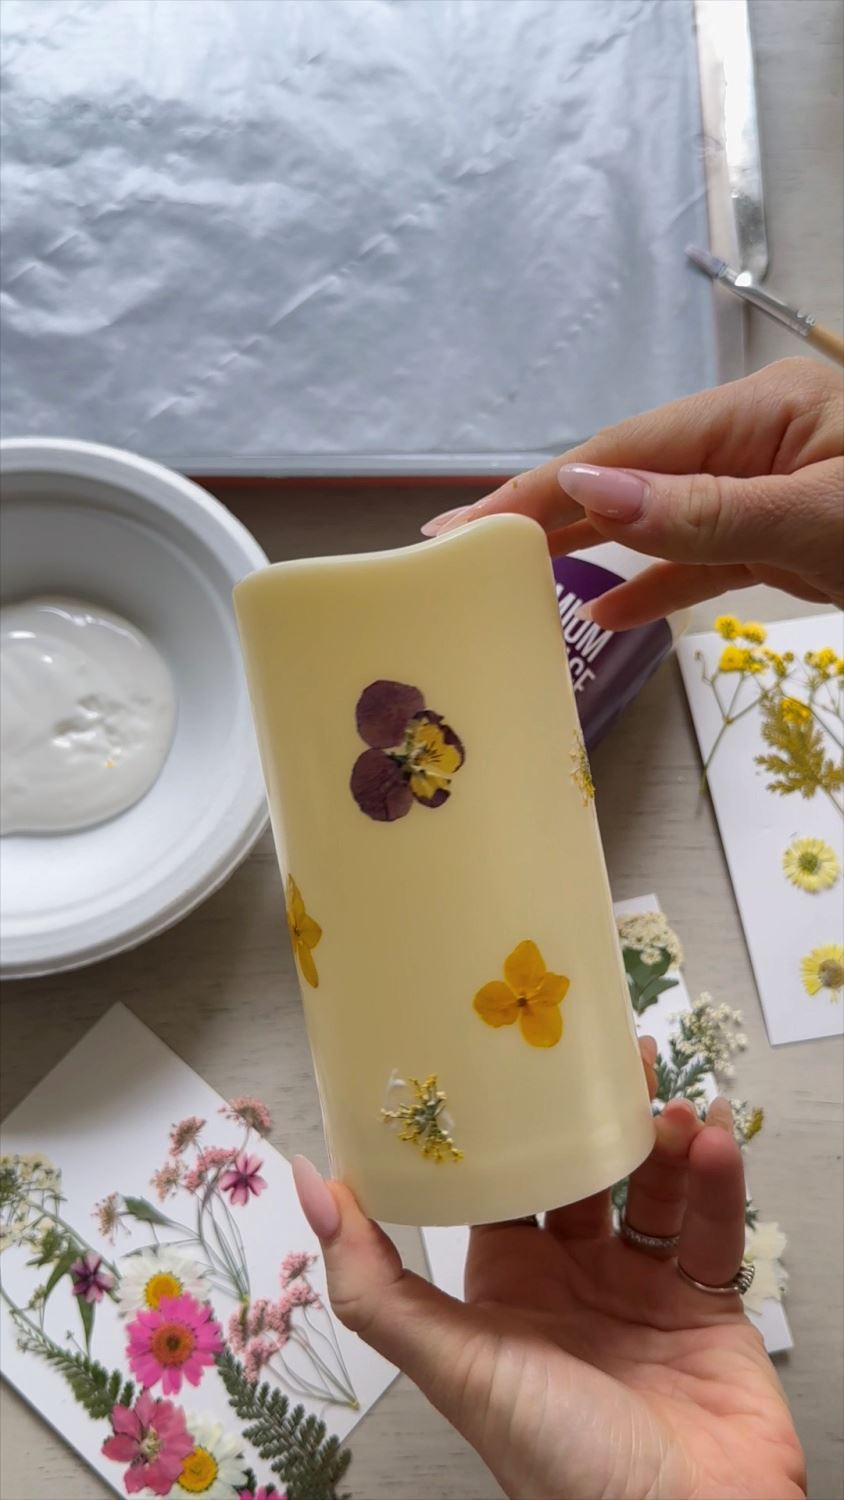
Set the scene this spring with a set of flower candles! This spring décor DIY from Maria Provenzano will show you how to create gorgeous custom candles that are perfect for capturing the essence of spring. Use dried flowers, realistic battery-powered candles, and Aleene’s Premium Decoupage Matte for custom candles that will last for seasons to come!
What you need:Step 1 Gather materials needed

Step 1 Gather materials needed
Gather the materials needed for this dried flower candle DIY. For this project, we recommend using battery-powered flameless pillar candles so that your décor can last indefinitely, and you won’t risk exposing the adhesive to live flames.
Step 2 Apply decoupage onto candle
Step 2 Apply decoupage onto candle
Pour some of Aleene’s Premium Decoupage into a disposable plate or bowl for easy access. Use a paintbrush to apply a small amount of decoupage glue directly onto the candle.
Step 3 Place pressed flower on candle and seal with decoupage
Step 3 Place pressed flower on candle and seal with decoupage
Gently place a dried flower onto the glued area. Apply another thin layer of decoupage glue to the dried flower to seal it in place.
Step 4 Continue adding flowers to candle
Step 4 Continue adding flowers to candle
Repeat this process to create your custom flower candles! Experiment with the arrangement of dried flowers and add as many as you'd like to each candle. Once you're finished adorning your candles with dried flowers, allow the decoupage glue to dry for 12-24 hours.
Step 5 Display your elegant dried flower candles
Step 5 Display your elegant dried flower candles
Turn the flameless lights on and display your DIY flower candles! We love the way Maria Provenzano set up this elegant arrangement with their one-of-a-kind flower candles.
Making your own flower candles is an easy way to spruce up your space for spring! Show us how you’re using Aleene’s Premium Decoupage for your dried flower crafts and tag us on social media @AleenesDIY!


