True Snow Wood Angels DIY
Holiday decor doesn't have to be complicated to be beautiful. What we love most about this set of wood angels is how easy they are to make, and the simple, rustic charm they'll add to any space. With just a few supplies like chopped wood pieces, cardboard and a combo of Aleene's True Snow and The Ultimate Multi-Surface Adhesive, your Christmas decorations will be a little more heavenly in no time.
What you need:- Aleene's The Ultimate Multi-Surface Adhesive
- Aleene's True Snow (regular or glitter)
- Chopped wood pieces
- Foam ball(s)
- Wood pegs/wood sticks
- Drill
- Real or faux greenery for halos
- Cardboard
- Scissors
- Pencil
- Palette knife/plastic knife

Make sure wood pieces are chopped to desired size. Pieces can be rough, as shown here, or rounded. It's totally your preference! Once you have your wood pieces, drill a hole the size of your wood pegs/sticks in the top center. This is where you will place the angel's head.

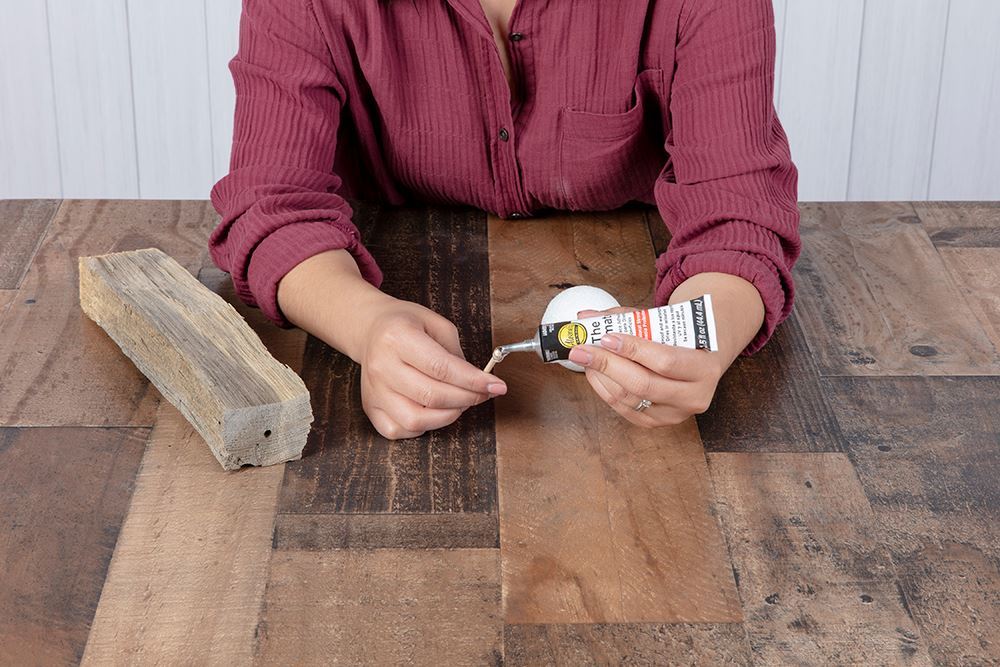
Make sure wood peg/stick is cut to the length you would like the angel's neck to be. Apply The Ultimate Multi-Surface Adhesive to one end of the wood stick/peg.

Wait 2 minutes for glue to start curing, then insert into base of foam ball.

Apply The Ultimate to other end of peg, let set for 2 minutes then press into drilled hole in wood base. Let dry completely.

Using a palette knife or plastic knife, spread True Snow over entire foam ball. Let dry.

Draw wings on a piece of cardboard and cut out. Apply True Snow to both sides, letting dry after applying to each side.

Once True Snow on wings has dried, apply a line of The Ultimate down the center of wings.

Press the wings in place on the backside of the wood piece and let dry. Tip: Dry flat so weight of wood piece helps hold in place until completely dry.

Cut greenery to fit around top of head like a halo, then glue in place with The Ultimate. Let dry, then enjoy!


