Easy DIY Friendship Bracelets with Fabric Glue
Nothing says “best friends” like sharing homemade friendship bracelets! Our BFFs at Craft Box Girls will show you three fun ways to make the perfect matching gifts for you and your bestie. You’ll just need some beads, embroidery floss, and Aleene’s Fabric Fusion. Gather your friends to get in on the bracelet-making fun!
What you need:
- Aleene’s Fabric Fusion
- Letter beads
- Circular color beads
- Scissors
- Tape
- Stretchy bracelet cord
- Embroidery floss (variety of colors)
- Tassels
Letter Bead Bracelet Step 1 
Customize this DIY friendship bracelet by adding your bestie’s name or any message you like!
Choose 3 colors of embroidery floss to use for your bracelet and cut 6 pieces of each color, about 12-13 inches long. We’re using blue, pink and orange. Line up all your floss pieces and tie a knot at the top end. You can tape the piece to your table to help you work.
Letter Bead Bracelet Step 2 
Separate your colors and tape the pinks and oranges to your table. Start with blue and separate into groups of 2. Criss-cross braid your blue floss all the way down and make a knot at the end. Repeat with the orange section, then the pink section, but dont tie a knot just yet.
Letter Bead Bracelet Step 3 
String your letter beads onto the pink braid, spelling out whatever you'd like. Tie a knot at the end.
Letter Bead Bracelet Step 4 
Gather all your floss and tie a final knot. Secure both knots with a dab of Aleenes Fabric Fusion to prevent fraying.
Color Bead Bracelet Step 1 
Heres a colorful bracelet thats simple and quick to make. Measure out your desired length of stretchy bracelet cord, and tie a single knot at one end.
Color Bead Bracelet Step 2 
String alternating colors of beads onto your cord.
Color Bead Bracelet Step 3 
Tie your tassels to the ends of your bracelet and secure them with Aleenes Fabric Fusion.
Color Bead Bracelet Step 4 
Now tie the ends of your bracelet together and secure this knot with a dab of Aleenes Fabric Fusion.
Color Pattern Bracelet Step 1 
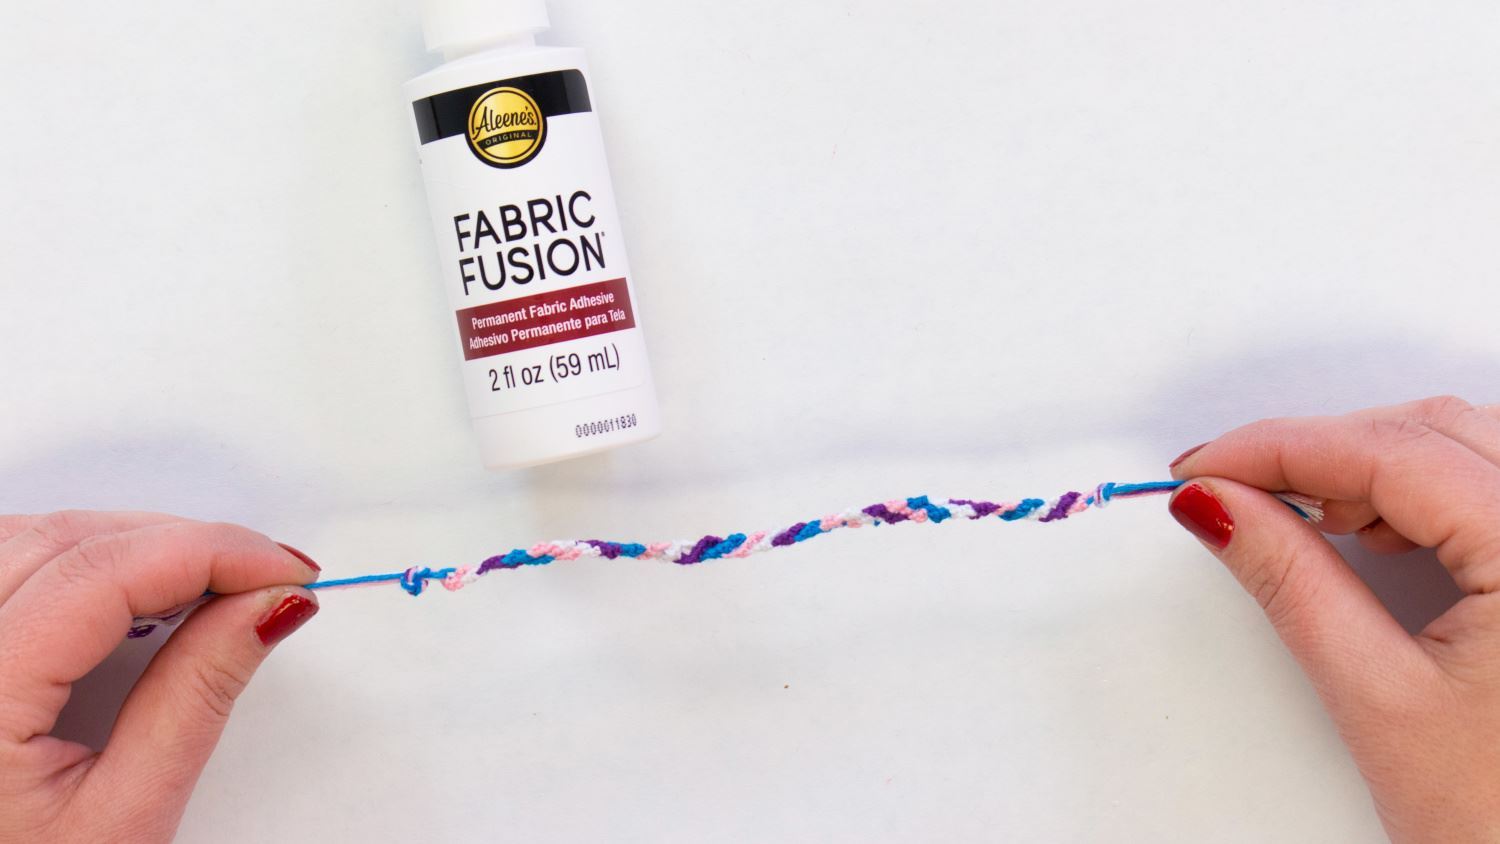
This DIY friendship bracelet takes a little more time but gives you a nice colorful pattern. It might be a little harder to visualize, so check out the video for reference.
Start by cutting 4 pieces of embroidery floss in the colors of your choosing. We’ll use pink, white, purple and blue.
Color Pattern Bracelet Step 2 
Tie a knot at the top, leaving a tail for tying on the wrist. Tape this to your desk to help you work.
Starting with your pink floss, make a figure 4 over the white and loop it through, pulling the knot tight. Repeat this 3 times.
Color Pattern Bracelet Step 3 
Continue with your pink floss, repeating with the purple floss and then the blue floss. Now use the white floss cycling through each color 4 times. Continue cycling through each color until your DIY friendship bracelet is the desired length.
Color Pattern Bracelet Step 4 
Tie another knot at the bottom end. Secure both knots with Aleene’s Fabric Fusion.
Now you have 3 easy DIY friendship bracelets to share with your BFFs! What other crafts are you sharing with your besties? Show us on social media @AleenesDIY!


