How to Glue Wood to Glass - Simple Cactus Terrariums
I'm really getting into indoor container gardening but I have a few issues that's keeping me from getting at it full force... First of all I am fairly famous for my black thumb among friends and family. Secondly, my cat Marla eats any plant that comes into this house and many can be poisonous to kitty.
I was pretty excited to realize that Marla keeps succulents and cactus alone so I can have them wherever I please in the house! I've only killed a few so far and my success ratio is pretty up there! To celebrate I bought a handful of cacti and set about making them an awesome terrarium to call home!
What you need:- Aleene's heavy-duty adhesive
- Square glass vases
- Ruler
- Balsa wood
- Wood stain
- X-acto knife & cutting mat
- Terrarium filler (rocks, moss, dirt, etc.)
- Cactus or succulent plants
Forget clamps, tacks, bindings and other nonsense: using glue to attach glass to wood is easier and less likely to result in frustration, mishaps and mess ups! So whether you're a weekend woodworking warrior installing transparent doors on your display case or attempting to attach wood letter cut-outs toa mirror or pane of glass, you'll be best served using Aleene's Glass and Bead Adhesive. This industrial-strength glass glue works on slick, hard-to-hold surfaces, grabs items instantly, dries clear, and is water resistant.
There are just a few easy steps to follow when securing wood to glass with this industrial-strength glue.
- Use sandpaper to smooth any uneven or raised spots on the wood where you will be attaching glass.
- Clean the surfaces to be bonded together. Use a damp cloth to remove any dust from the wood pieces. Use glass cleaner and paper towels to clean the glass pieces. Make sure all pieces are dry before gluing together.
- Apply a small amount of glue to the surface of the glass piece and another small amount to the surface of the wood piece.
- Press the piece of wood to the glass and hold for a few seconds.
- If necessary, remove any misplaced glue on the glass surface with a damp cloth, or carefully use a razor blade if the glue has already dried.
- Allow the glue to cure for 24 hours.

First up you'll need to find square glass vases. I got mine at the craft store and I didn't pay attention to how flat the sides were which caused me some problems later on. Find vases where the sides aren't very curved in on the thinner parts of the glass. They're out there you just might have to dig through a few vases on the shelf to find them!

I made my strips of wood the same height as my ruler to keep things simple but you can work with whatever pattern/size of wood you prefer.
Measure out the width of your vase on ONE side.
 Cut your balsa wood so that you have 4 pieces the exact same length and width. These will be the upper and lower pieces of wood on that first side and the side opposing it.
 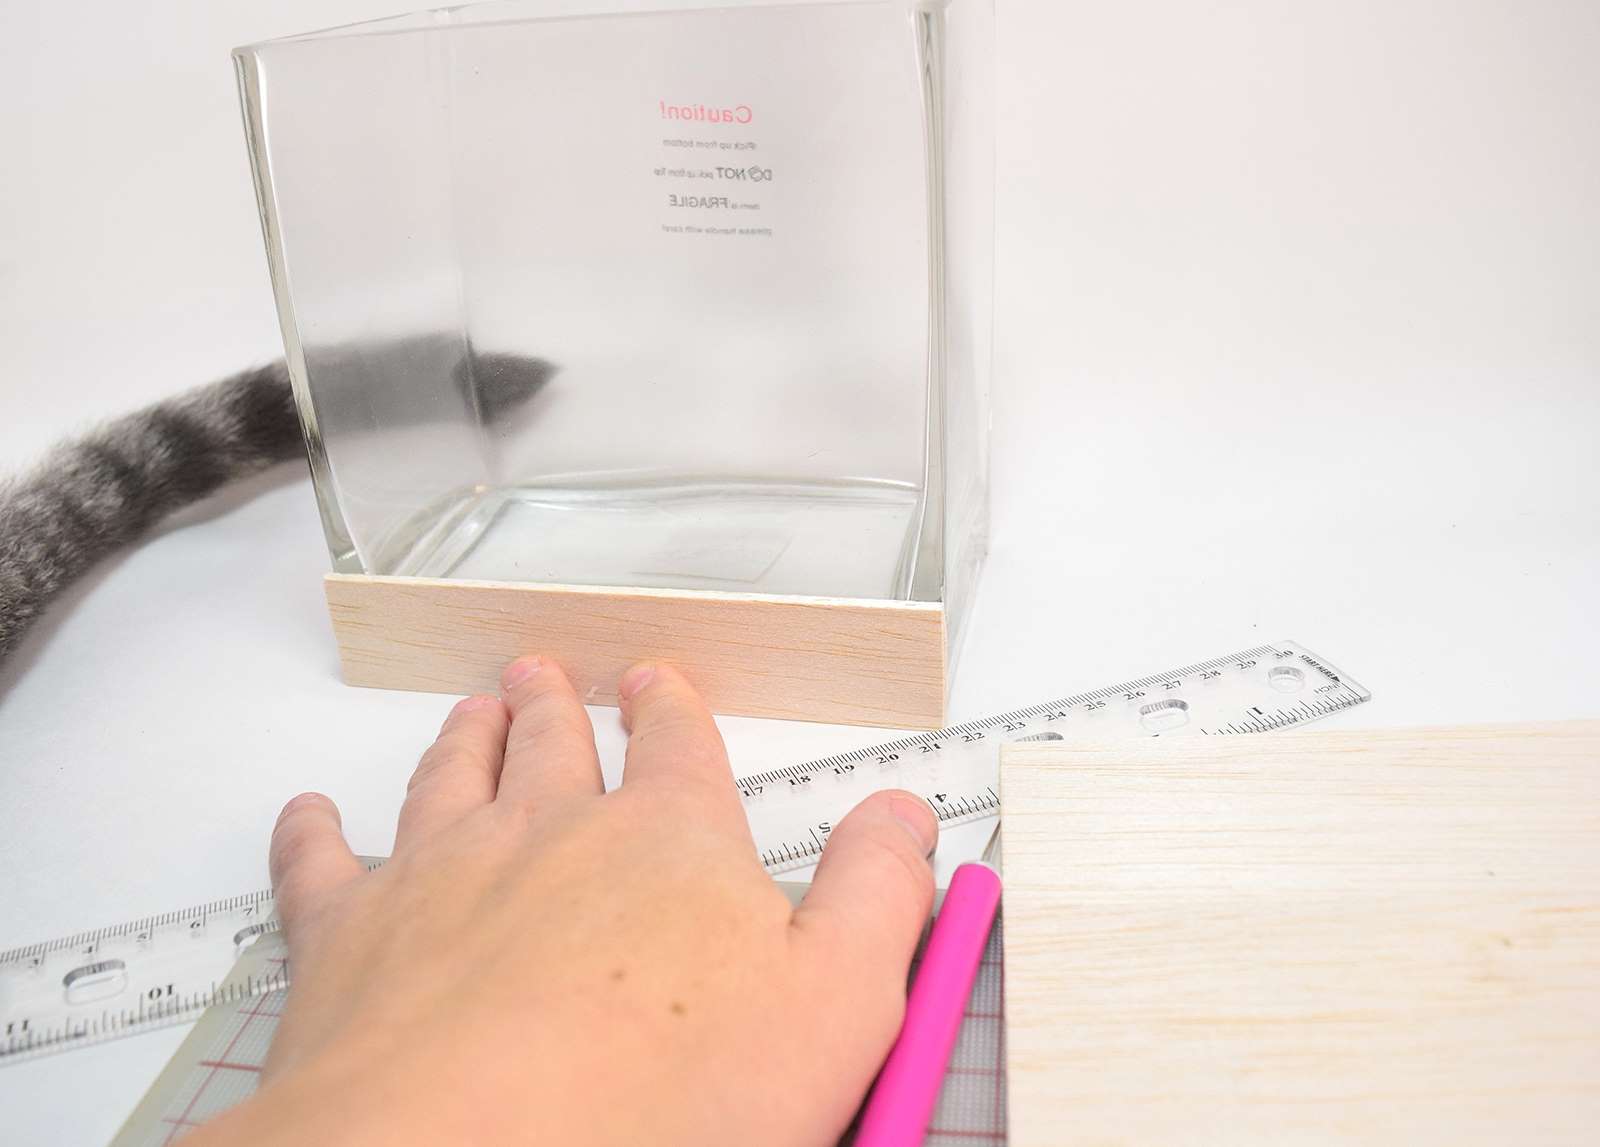 You'll need to cut the vertical pieces for this side, also. Place the bottom piece up against the glass and then place the top piece along the upper edge. Hold both with one hand.
Measure the distance between the two pieces and then cut a piece to fit. It may not be perfect but it will be close enough. See how you can see a slight gap on my piece? In the end when you see the full vase from a distance you can't tell and they still look fab!
Continue the steps to cut out the strips for your other sides and for any other terrariums you're making at the same time.
 Stain your wood pieces any color you choose and allow to dry a few hours. Once your wood strips are dry grab your Aleene's heavy-duty adhesive.
 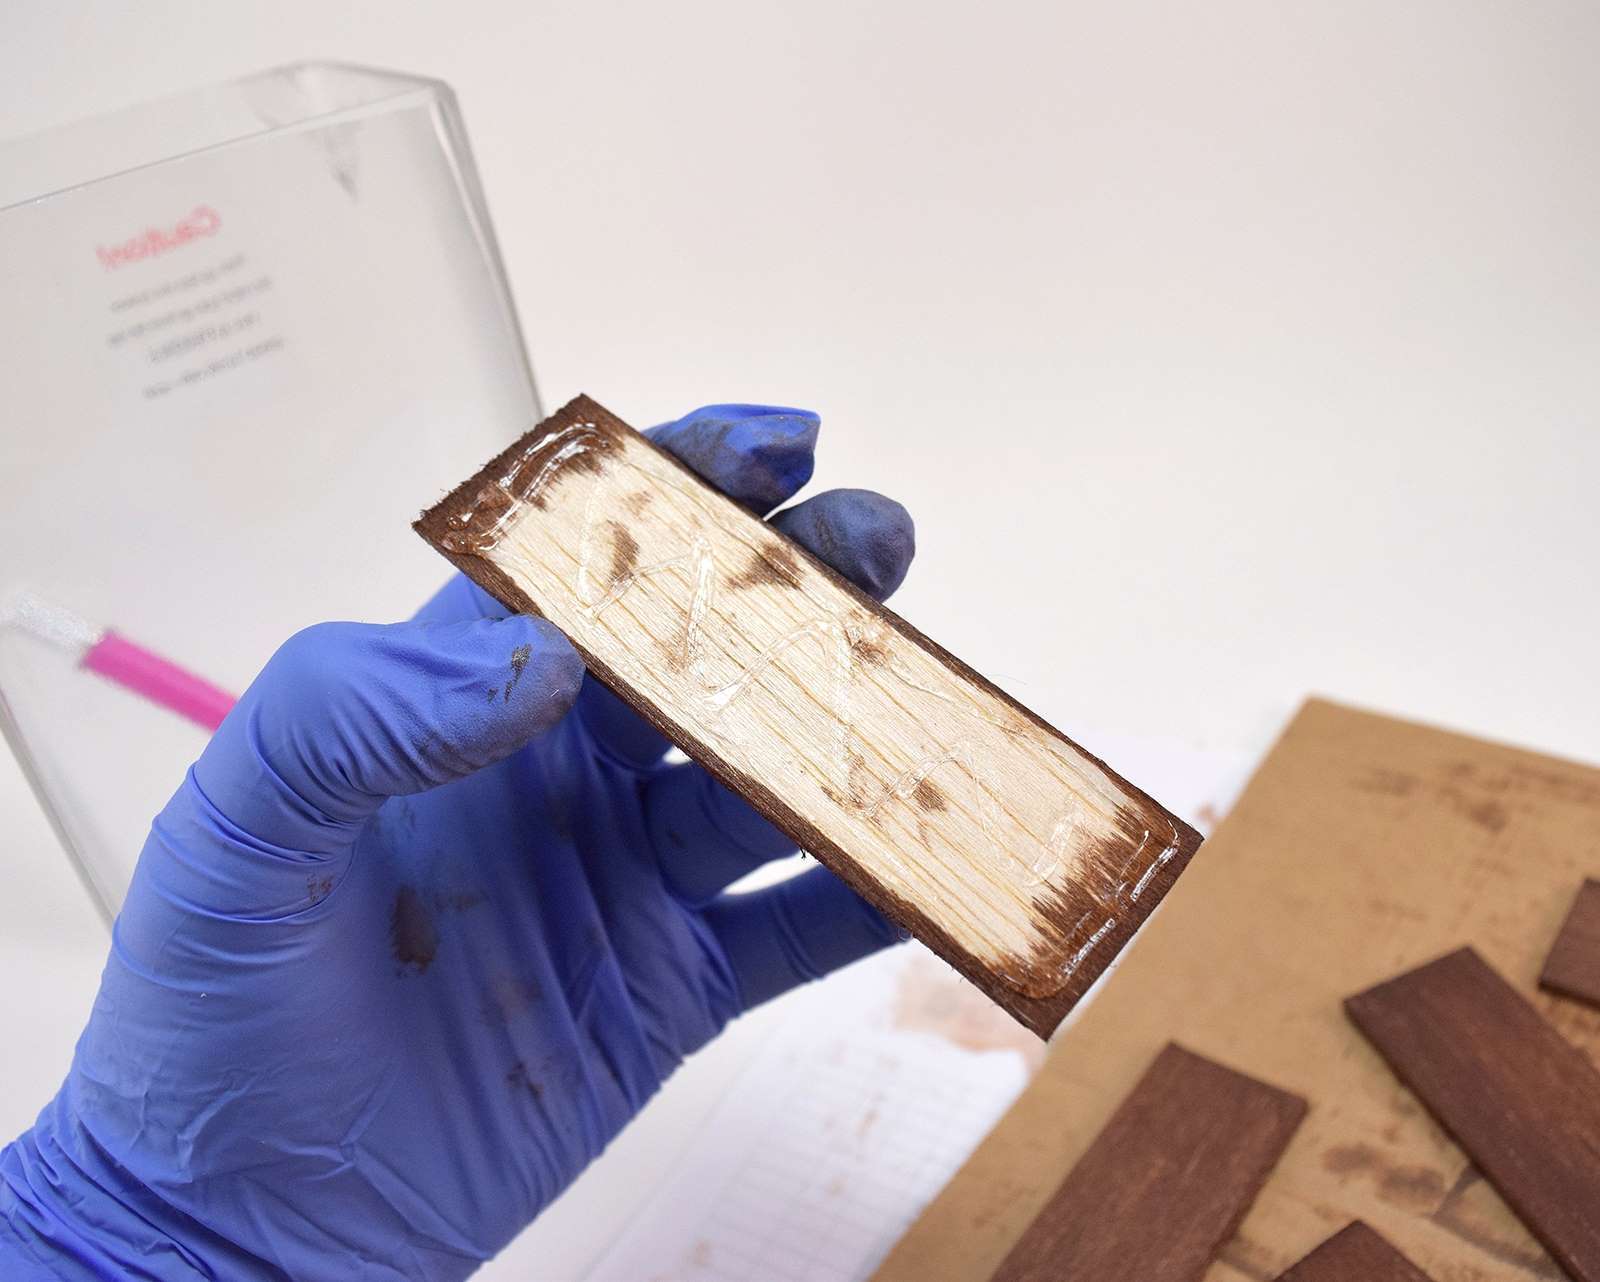 Run a moderate amount of glue on the backside of the wood. I went with a line around the perimeter and a squiggle in the middle.
 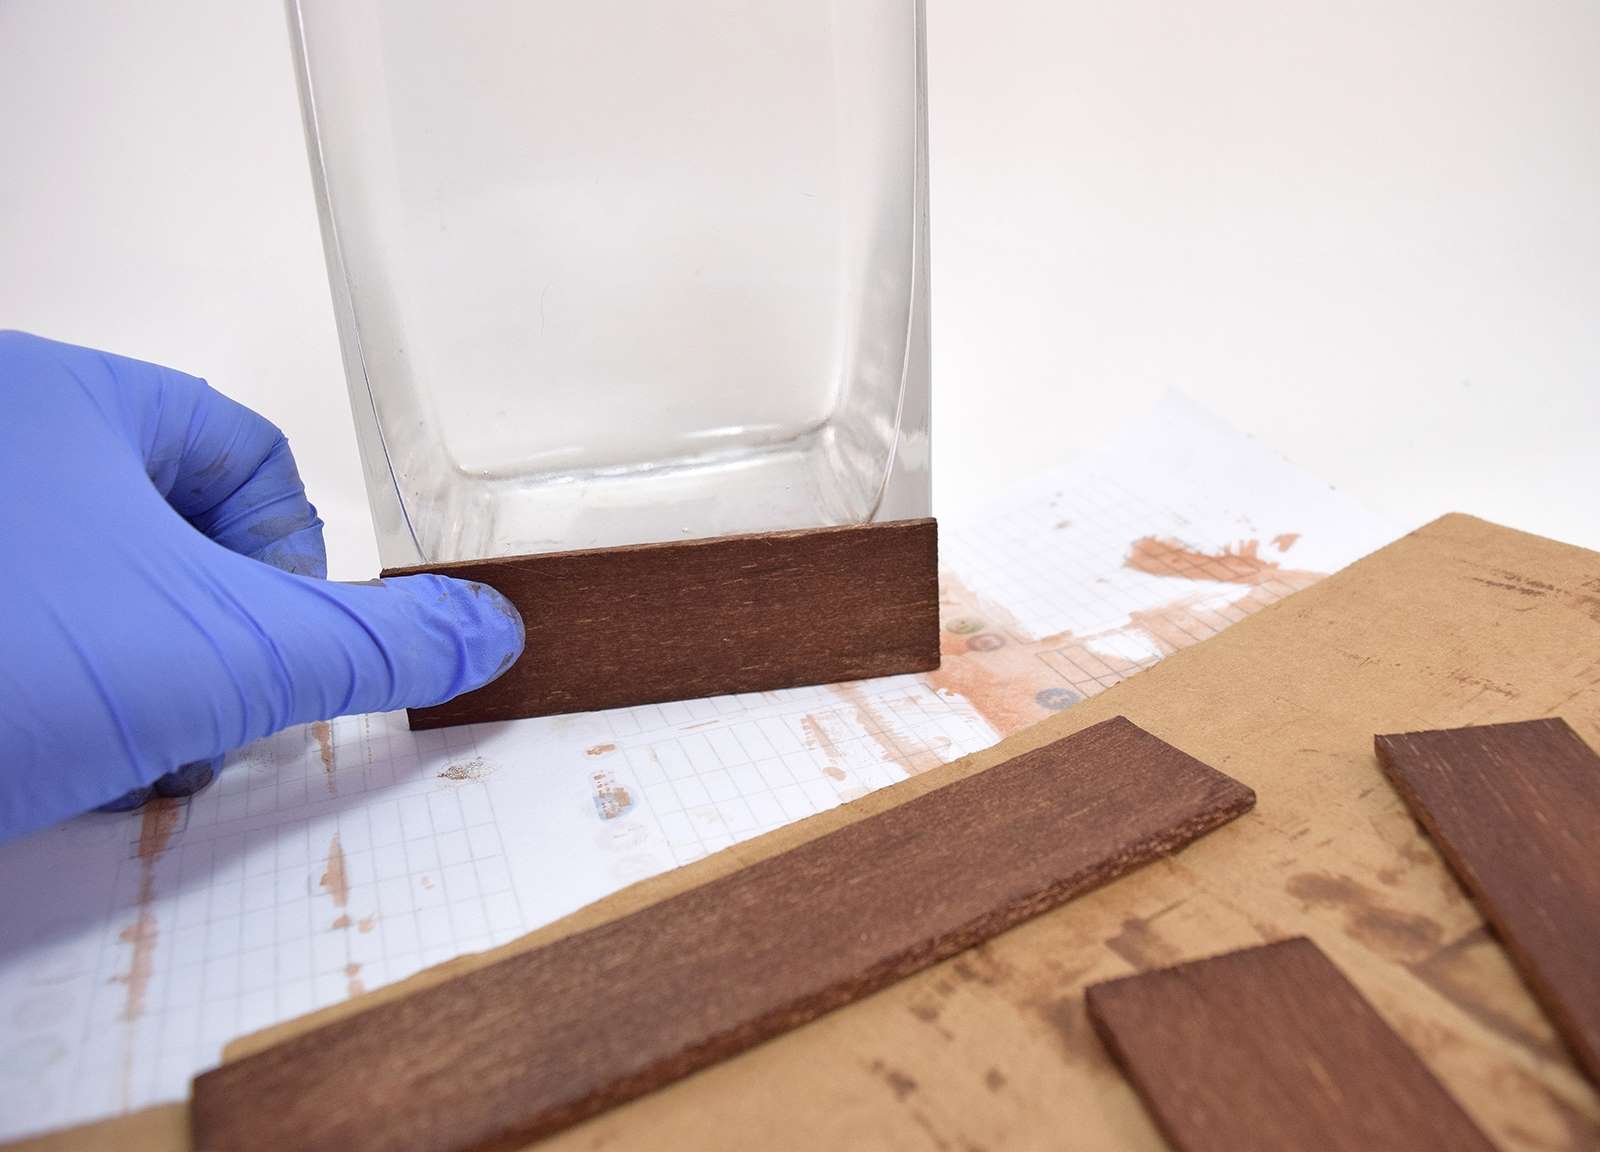 Press your piece of wood to the glass and hold for a few seconds. I gave myself a count of 20 and that was a pretty good amount of time for the wood to begin to hold on its own.
  Frame your first side.
  And then frame the opposing side. Allow the glue to set for 20-30 minutes.
  When the first sides don't sleep around at a light touch you can continue to frame the remaining 2 sides of your vase/terrarium. Place somewhere safe to cure for at least 24 hours before continuing.
  Next we're going to layer filler to make the center, open glass of the terrarium look lovely. I used green and gray decorative rocks on the bottom to provide good drainage to prevent overwatering.
 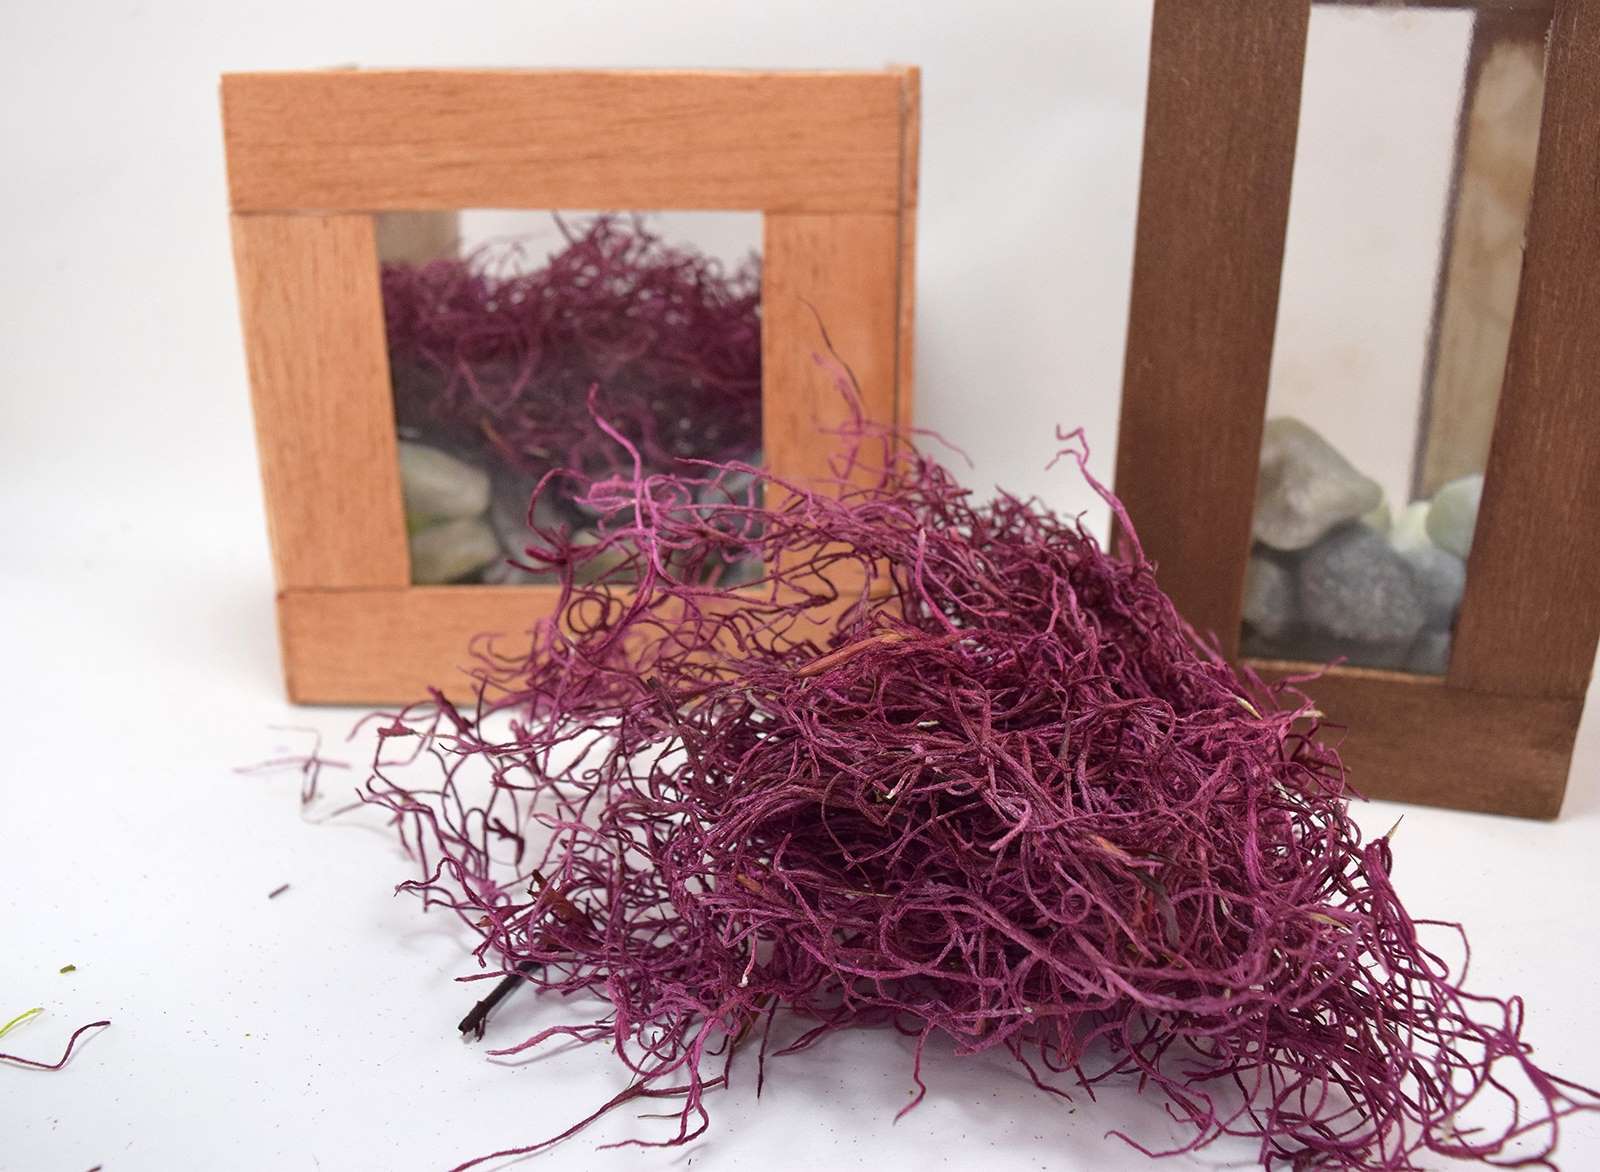 Next I just had to use this purple moss I've had lying around for ages.
With a layer of moss on top of my rocks I'm now ready to bring in the potting soil and my cactus plants.
 The soil will push down your moss into your rocks but that's just the way it works. No worries!
 If you're working with cacti I'd strongly recommend getting leather or suede gloves to protect yourself from the spines. Sometimes they get in and you can't seem to find them (they go invisible or something!) to get them out again. Ouch!
 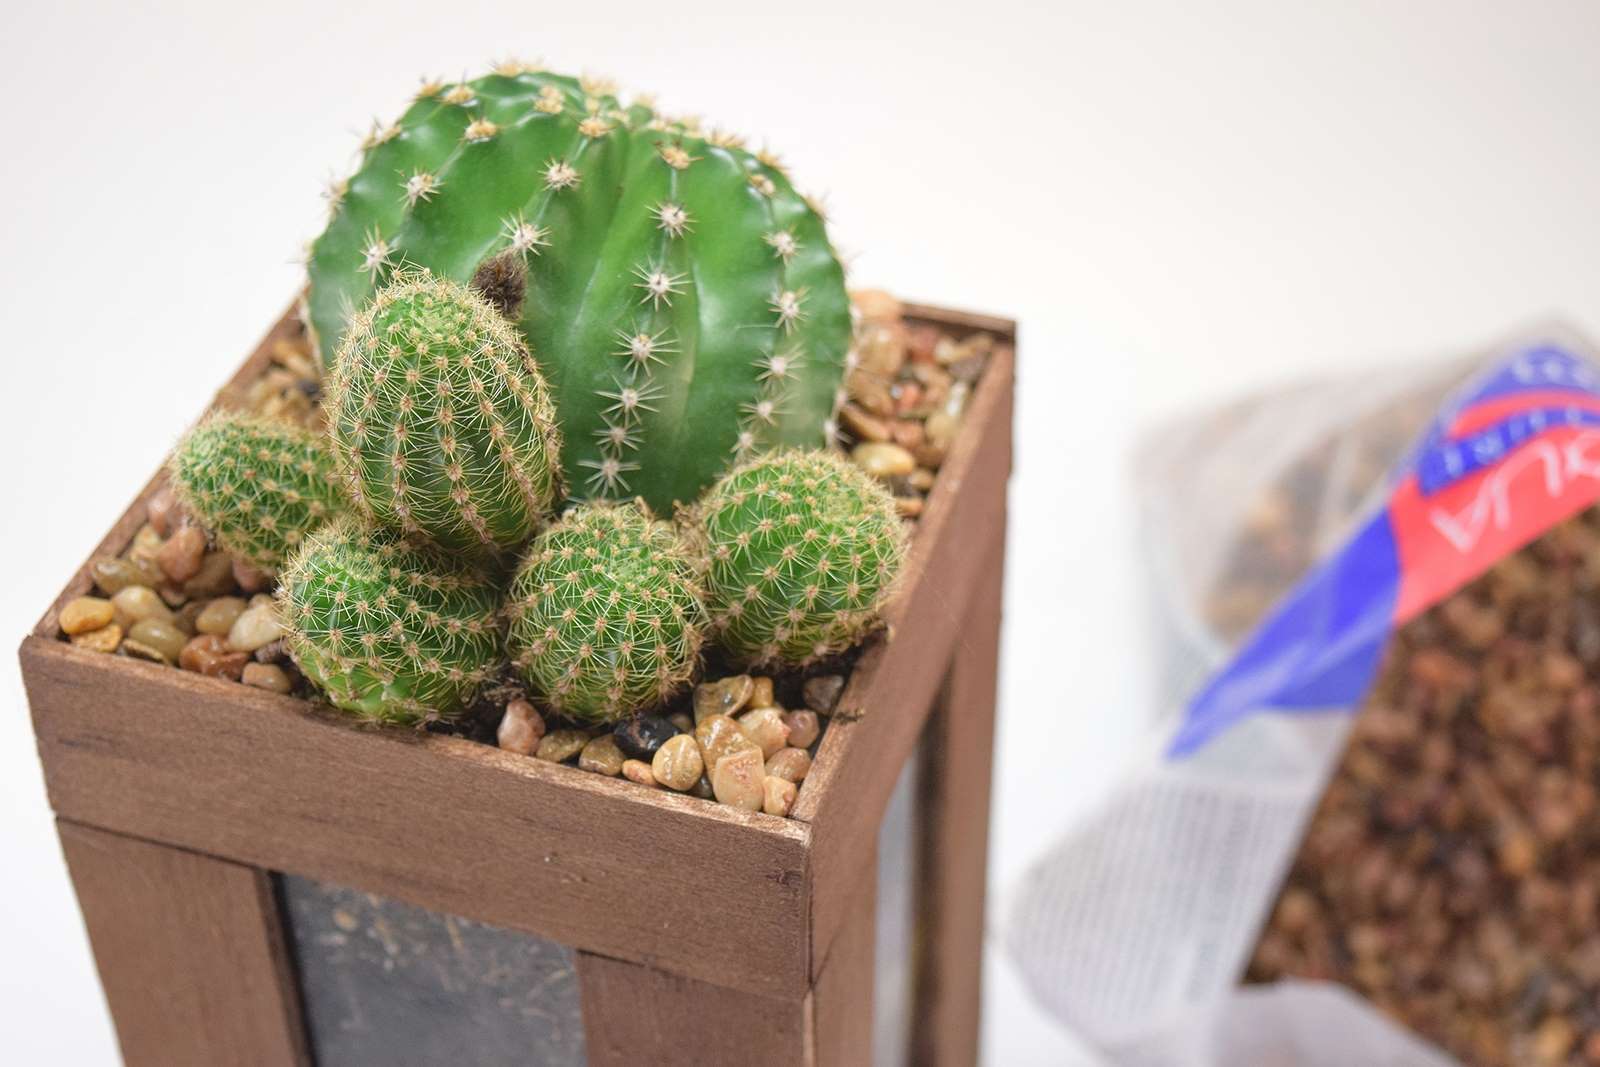 To set my potting soil so that it doesn't easily spill out when my terrariums are moved around I topped them off with aquarium gravel pushed into the top layer. It looks pretty and helps me from making a mess regularly!
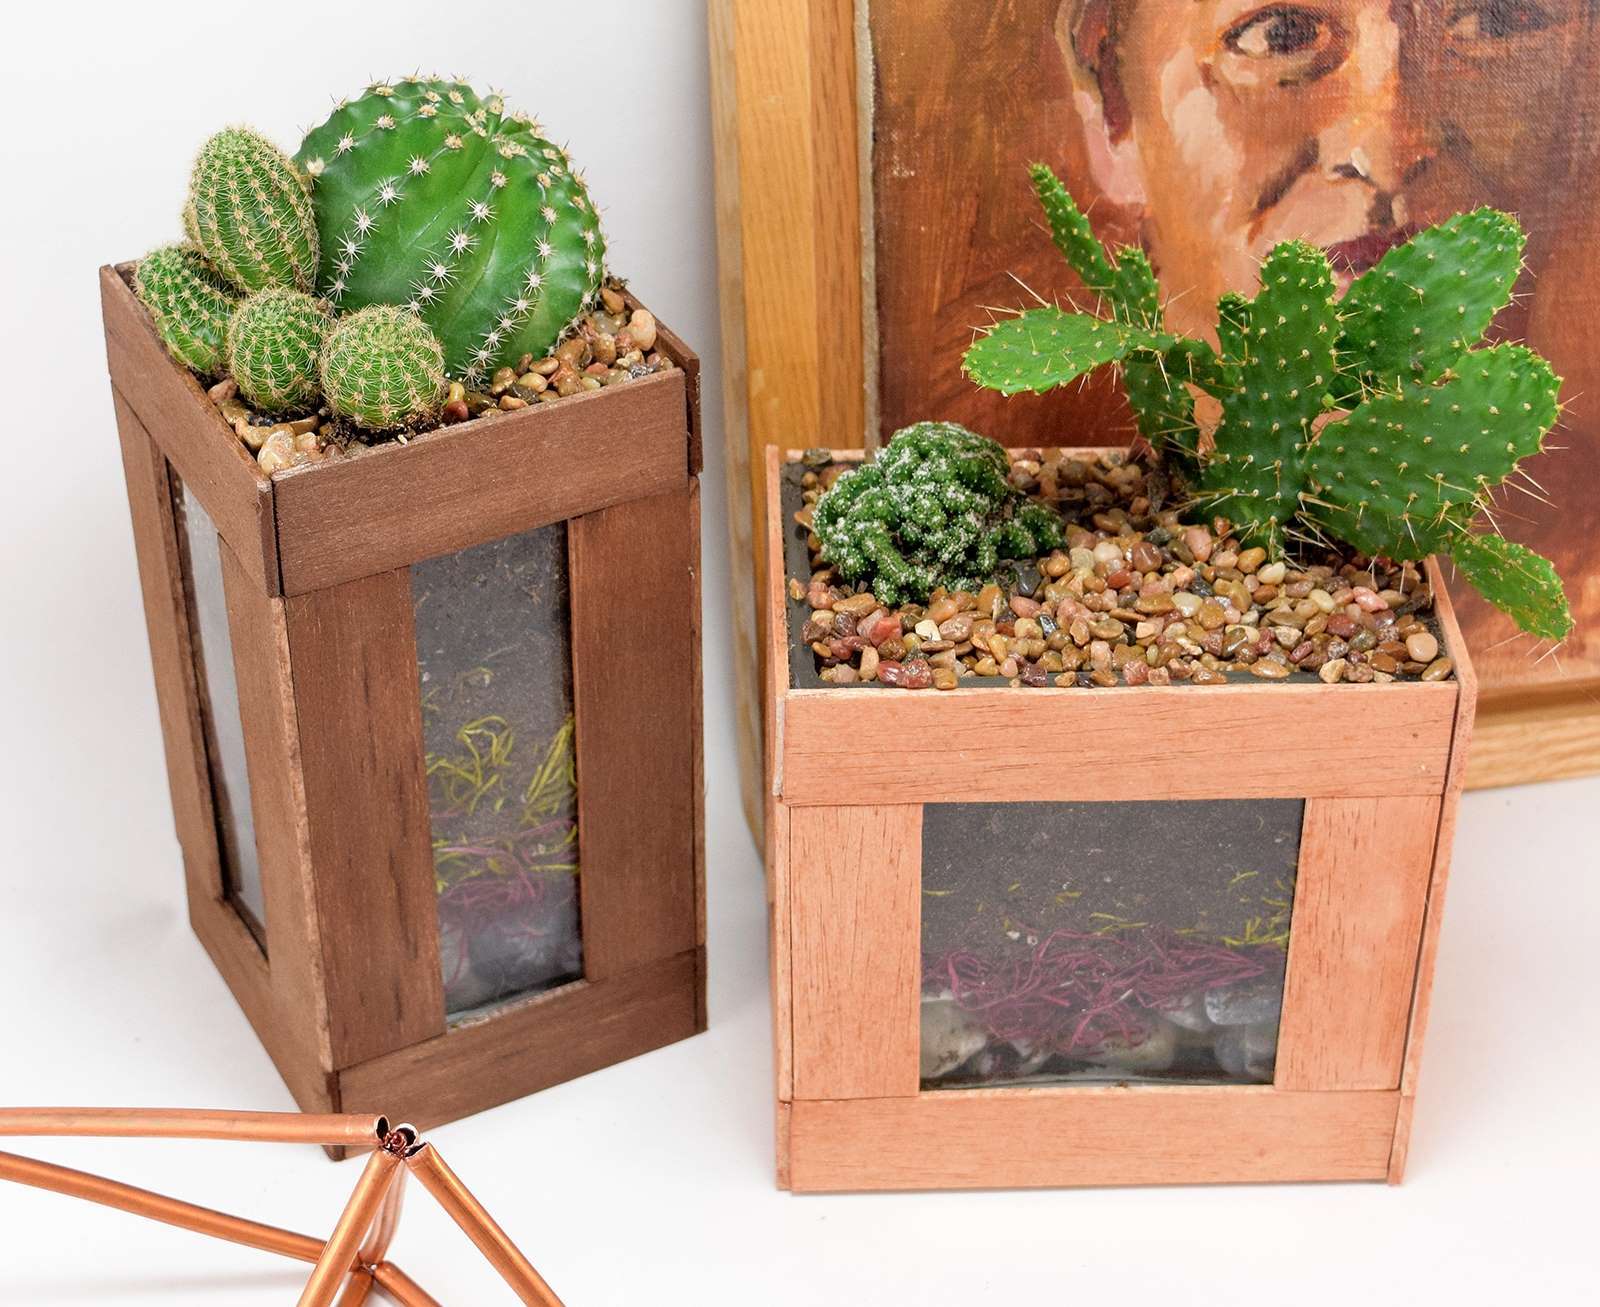
  And there are my finished terrariums! Now remember how I was saying you need to be careful that the sides of your vases are somewhat flush? I didn't pay attention to that so I have some gaps in my wood frames that could have been prevented.
  But set out on my bookshelf with one of my Rob's paintings and a Himmeli style copper tubing sculpture I made, these cactus terrariums look amazing even with a few small gaps.
  Another option for completeing your terrariums is to finish both sides of your wood strips. You can then place your plant inside of the glass vase rather than on top. The glass of my vases was wavy and made this not the greatest option but if I find another set of vases with clearer glass I'm going to give that a go!


