No-Sew Halloween DIY: Raincloud & Rainbow Costume
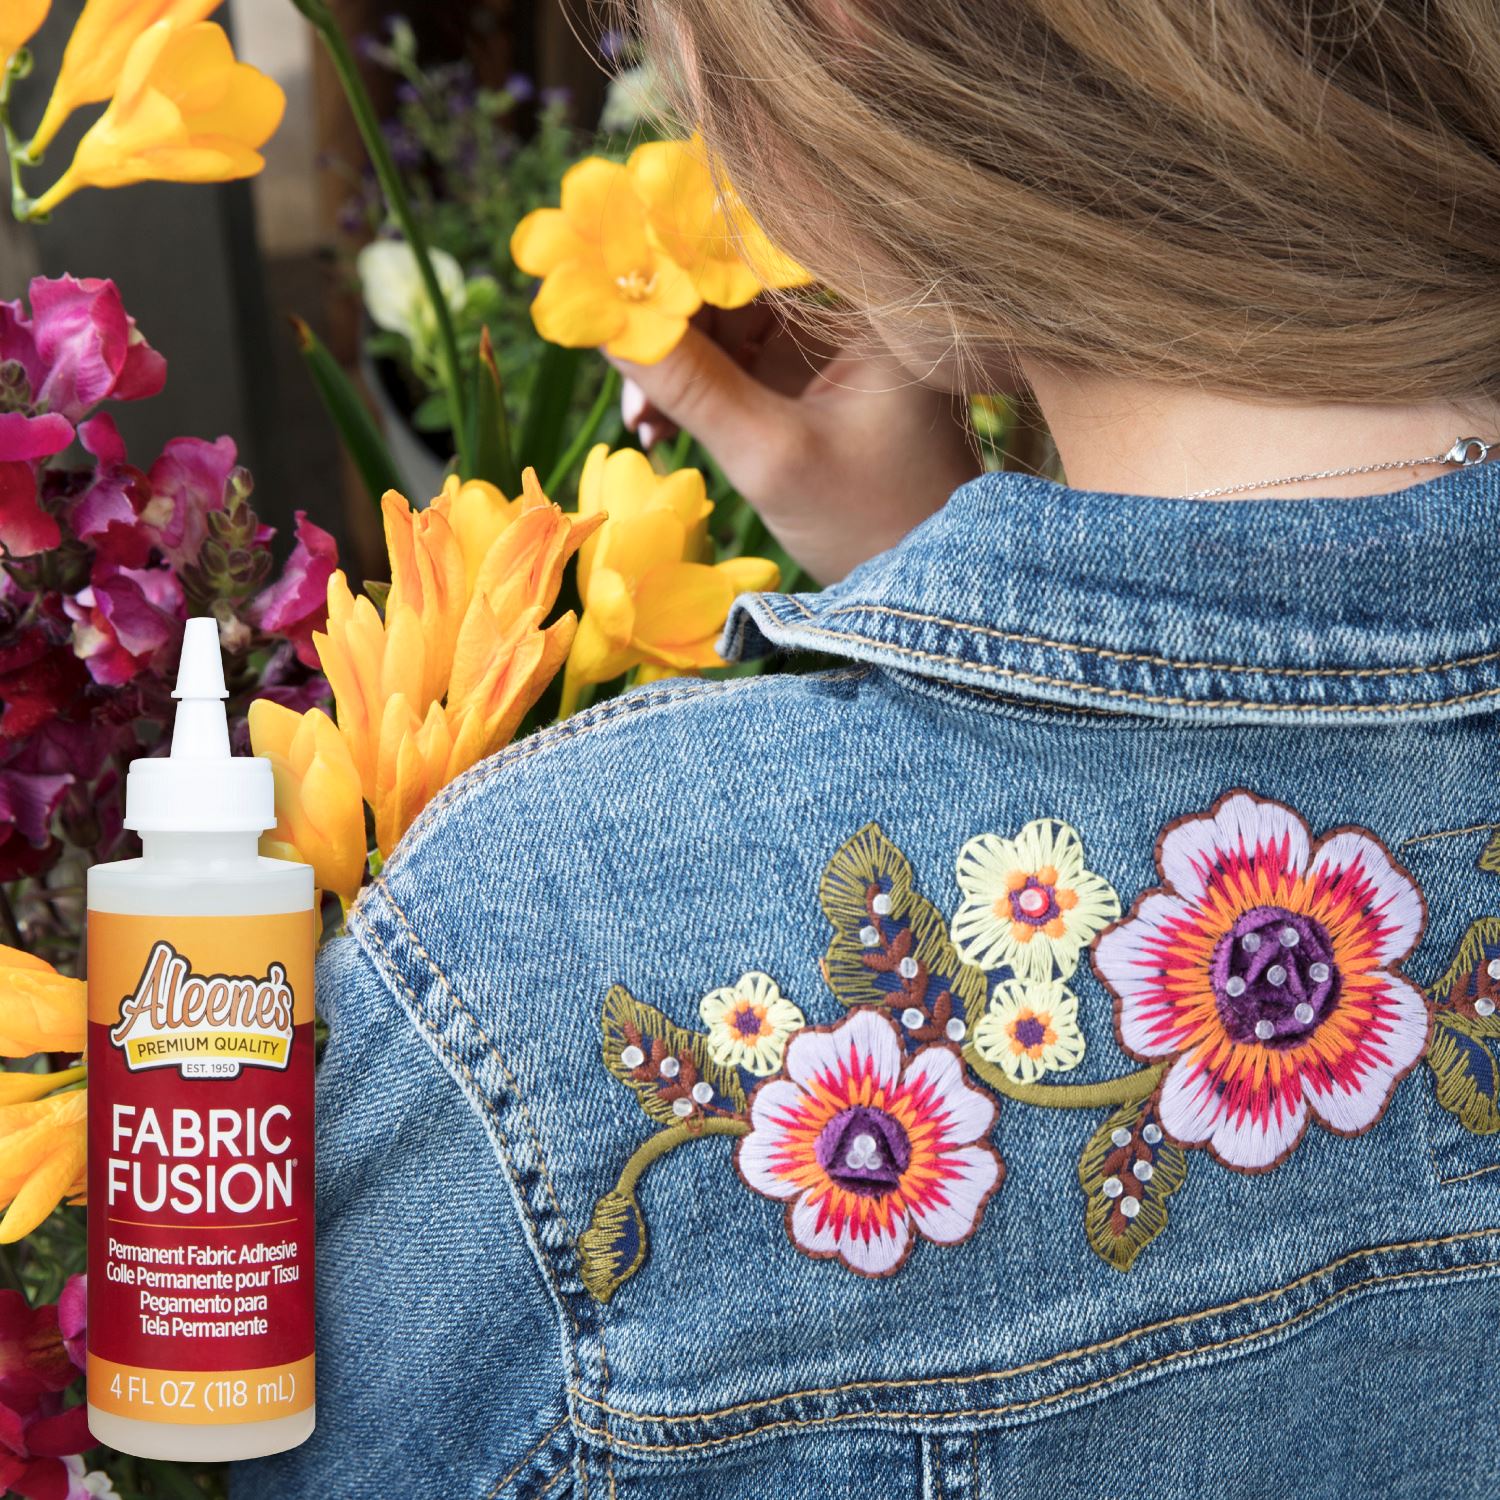
Embrace the magic of the Halloween season with a whimsical costume! This no-sew Halloween DIY from Oh Yay Studio will show you how to be a rainbow in someone else’s cloud— literally! Learn how to create a raincloud and rainbow costume with Aleene’s Insta-Fuse Fabric Fusion and get ready for another creative Halloween.
What you need:Step 1

Step 1 Cut out the clouds and straps
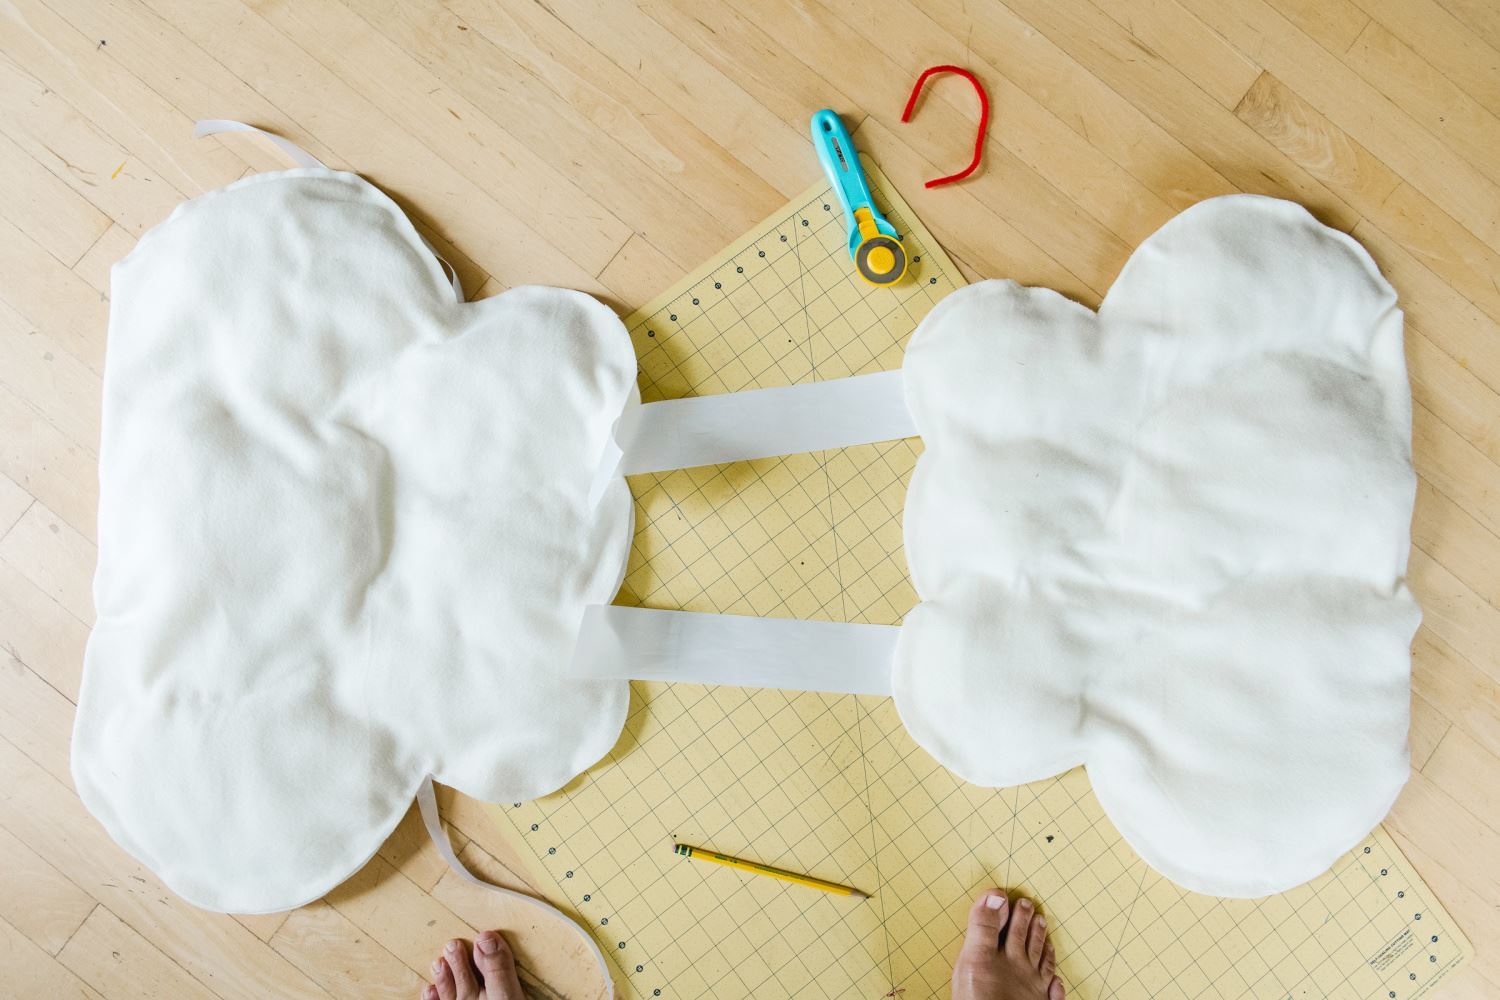
To start this Halloween DIY, measure your body and cut out the clouds from fabric. Cut the width of your white fabric in half so that you have 2 long strips, then fold each piece in half width wise. You will use one long folded piece for the front and one for the back.
Measure and cut the over-the-shoulder straps and some tie straps for the side of the body. For this kids’ costume, Oh Yay Studio cut 2 of the shoulder straps about 15” and 4 of the side straps about 8” long.
Step 2

Step 2 Glue cloud together
Glue your Halloween DIY costume together with Aleenes Insta-Fuse Fabric Fusion! Begin by running a bead of glue along the outer edge of the cloud. To activate the adhesive, set your iron to high and iron the glued area in circular motions for 30 seconds. Be sure to keep a close eye on your project when ironing to prevent scorching. Flip and repeat on the backside. Pull on the fabric to test the bond and repeat ironing if necessary.
Step 3
Step 3 Alternate gluing and stuffing
Repeat ironing and gluing as you stuff the cloud with polyester fiberfill. Work from left to right and apply Insta-Fuse Fabric Fusion in semi-circles across the fabric to give your Halloween DIY fluffy, cloud-like dimension. Be sure to add the ends of both of your straps along the top of the cloud and the 2 sides straps along the sides.
Step 4
Step 4 Repeat and attach clouds
Repeat steps 2 and 3 to glue and fill your second cloud. Attach the two clouds together through the top straps.
Step 5
Step 5 Cut and prep raindrops
Next, make some raindrops for your Halloween DIY costume. Cut varying lengths of ribbon, then cut twice as many raindrop shapes from blue fabric. Apply Insta-Fuse Fabric Fusion and ribbon to one raindrop and place another raindrop on top. Iron to secure, then flip and repeat.
Step 6
Step 6 Attach raindrops
Use Insta-Fuse Fabric Fusion to attach the raindrop strands to the inside of the rainclouds, ironing to secure into place. Attach the raindrops on both the front and back pieces to create a skirt of droplets for your Halloween DIY. This will give the illusion of raindrops falling from your cloud!
Step 7
Step 7 Prepare the rainbow template
This Halloween DIY wouldn't be complete without a rainbow costume headpiece! Prepare your rainbow by cutting a 10 foam circle in half. Create a template by tracing the half circle onto a piece of paper, then measure and draw 7 concentric arches onto the template.
Step 8
Step 8 Cut rainbow colors from fabric
Cut a strip of red fabric a 1/4 wider than the foam disc for your rainbow costume headpiece. Use your template to cut out the outer most half circle out of red fabric. Remember to cut two of every color one for the front and one for the back of the rainbow. Then cut off the first arch on the paper template and trace a slightly smaller arch onto the next color. Repeat this process with all the colors of your rainbow!
Step 9
Step 9 Assemble the rainbow
Once you've cut out all the colors, assemble your rainbow costume headpiece by gluing and ironing as you layer the colors together.
Step 11
Step 11 Complete the rainbow
This Halloween DIY is almost complete! Add the foam disc to your rainbow and secure into place with more glue and fabric. Glue and iron the rainbow onto your headband to complete the rainbow costume headpiece!
Step 12
Step 12 Assemble the raincloud and rainbow costume
The best part about this no-sew Halloween DIY is that you dont need to wait for the fabric glue to dry just slip the costume over your head and tie the sides together! Pair this rainbow costume with a cute umbrella and rain boots for a whimsical take on Halloween.
This raincloud and rainbow costume is a breeze to make thanks to Aleenes Insta-Fuse Fabric Fusion! Show us your no-sew Halloween DIY costumes and tag us on social media @AleenesDIY!


