Glittering Gem Mason Jars Lights
I've always been a sucker for interesting lighting. I love pieces that are conversation starters, are so unique that I often get asked where it came from and lighting that throws an interesting glow around it when lit up. These mason jar glittering lights are great for several reasons. They are solar powered so they can light up every night without needing to flip a switch. This makes them great for the outdoors. But bring them in next to your bedside table and you'll have a lovely glow with the most gorgeous colors splayed out across your nightstand. These are, by far, my most favorite mason jar craft of all time!
What you need:
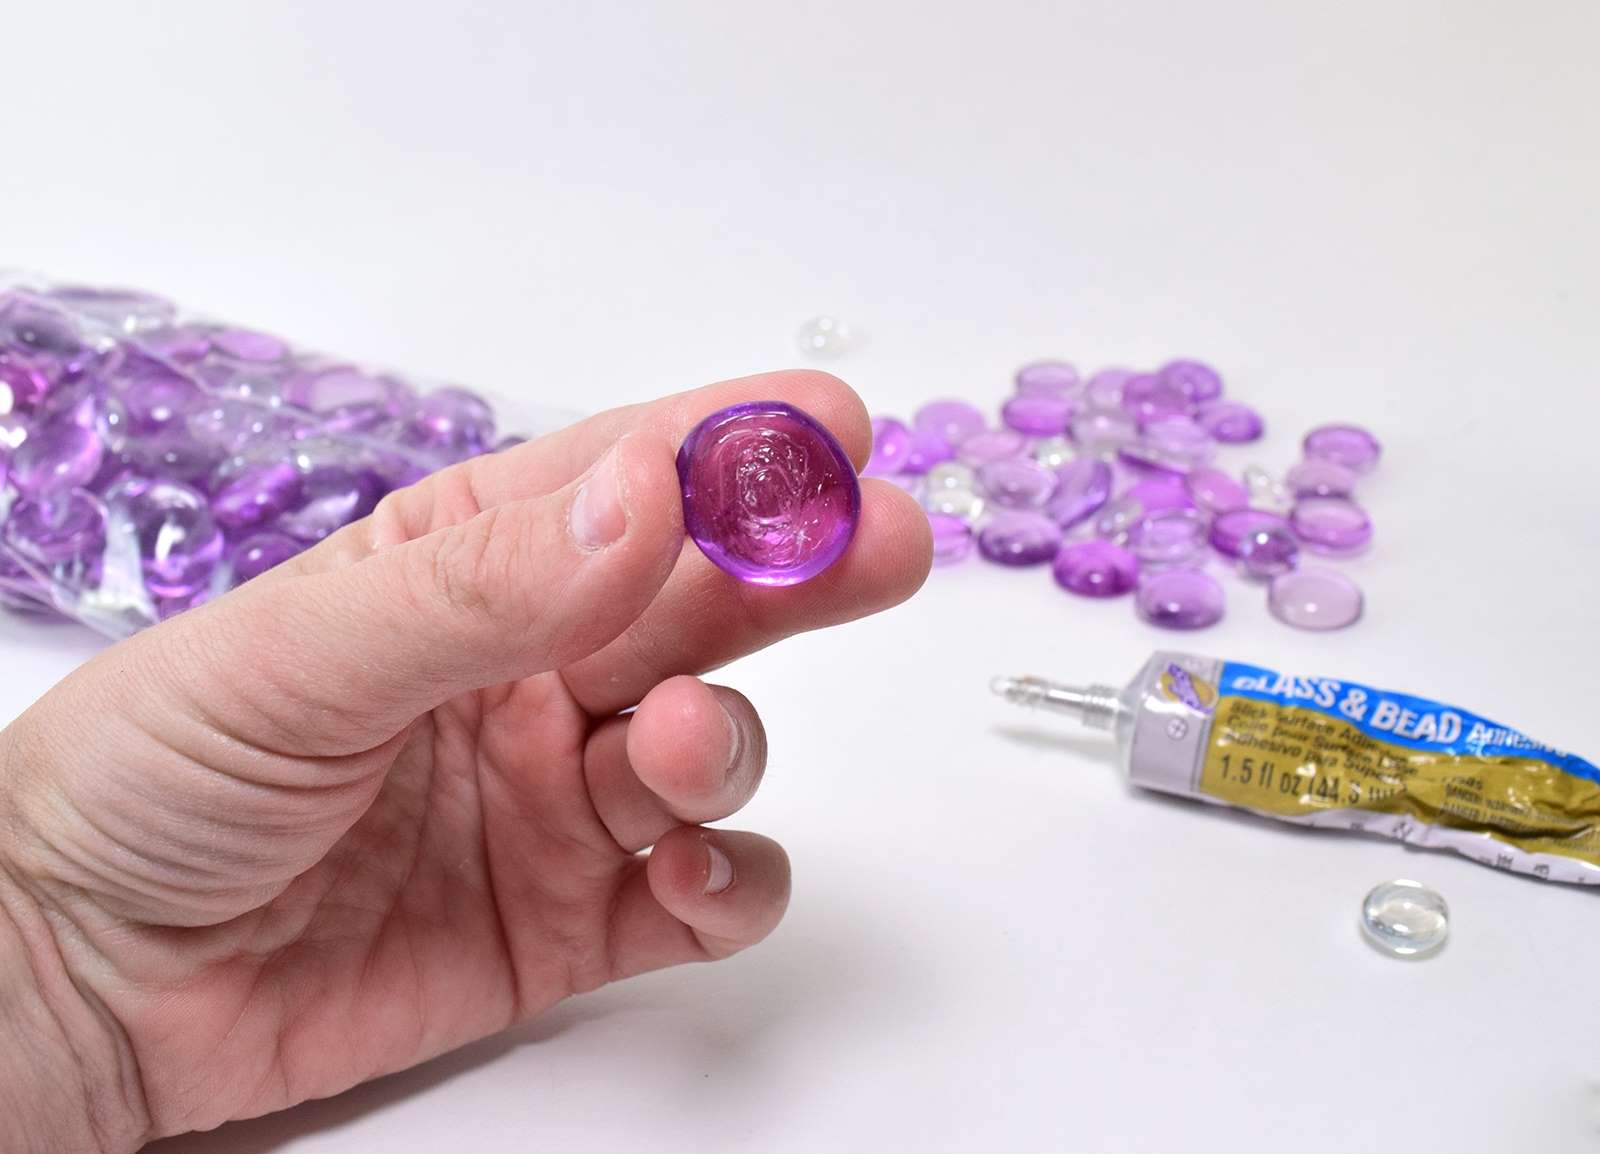
- Aleene's Glass & Bead Adhesive (please excuse my well used tube :)
- Colorful glass gems (look in the floral department at craft stores and places like Walmart)
- Mason jar (smooth jars work the best)
- Masking tape (optional but helpful)
- Mason jar solar lights (see how I made mine for $1 here)
 Just a few short years ago you couldn't find too many colors of these glass gems. Since they've become more popular in craft projects you're finding some really pretty colors these days. I had a hard time choosing between purple or "peacock variety" that had purples, blues and greens. In the end I went with the simple purple and I'm quite happy with the results. Since the light cast by modern solar lights is more white than blue these days, you can get colors that are more true to the shade of your gems than in the past.
 Smooth glass mason jars are easy enough to find at craft stores and in the craft sections of stores like Walmart. While not completely necessary it does make this project easier in the end. These smooth jars can often be purchased singly.
 Begin gluing your stones onto the sides of your jar, taking care to leave the threads of the jar for the lid free. To be honest, it would be difficult to glue them there, anyway.
 While I was working on my jars it was storming and really, really humid which meant slow dry time. That meant that my stones would slip down a little bit and not dry exactly where I had wanted to place them. If you find yourself in a similar position, either due to working quickly or a humid environment, masking tape can help hold the stones in place as they dry.
 Once fully covered, before using allow the stones a day or so to cure.
 Add solar mason jar lids and you'll have the prettiest display at night without needing to turn anything on! You can purchase these at craft stores, or you can see how I made my own using Aleene's The Ultimate for only a buck apiece!
 With a combination of purple and clear stones I got a texture that can't be beat.
 They look wonderful when paired but are quite elegant when a single jar is placed, also.
 Take care to keep your jars from extreme heat or cold and they will last you ages!


