How To Make a Macrame Leaf with Fabric Stiffener
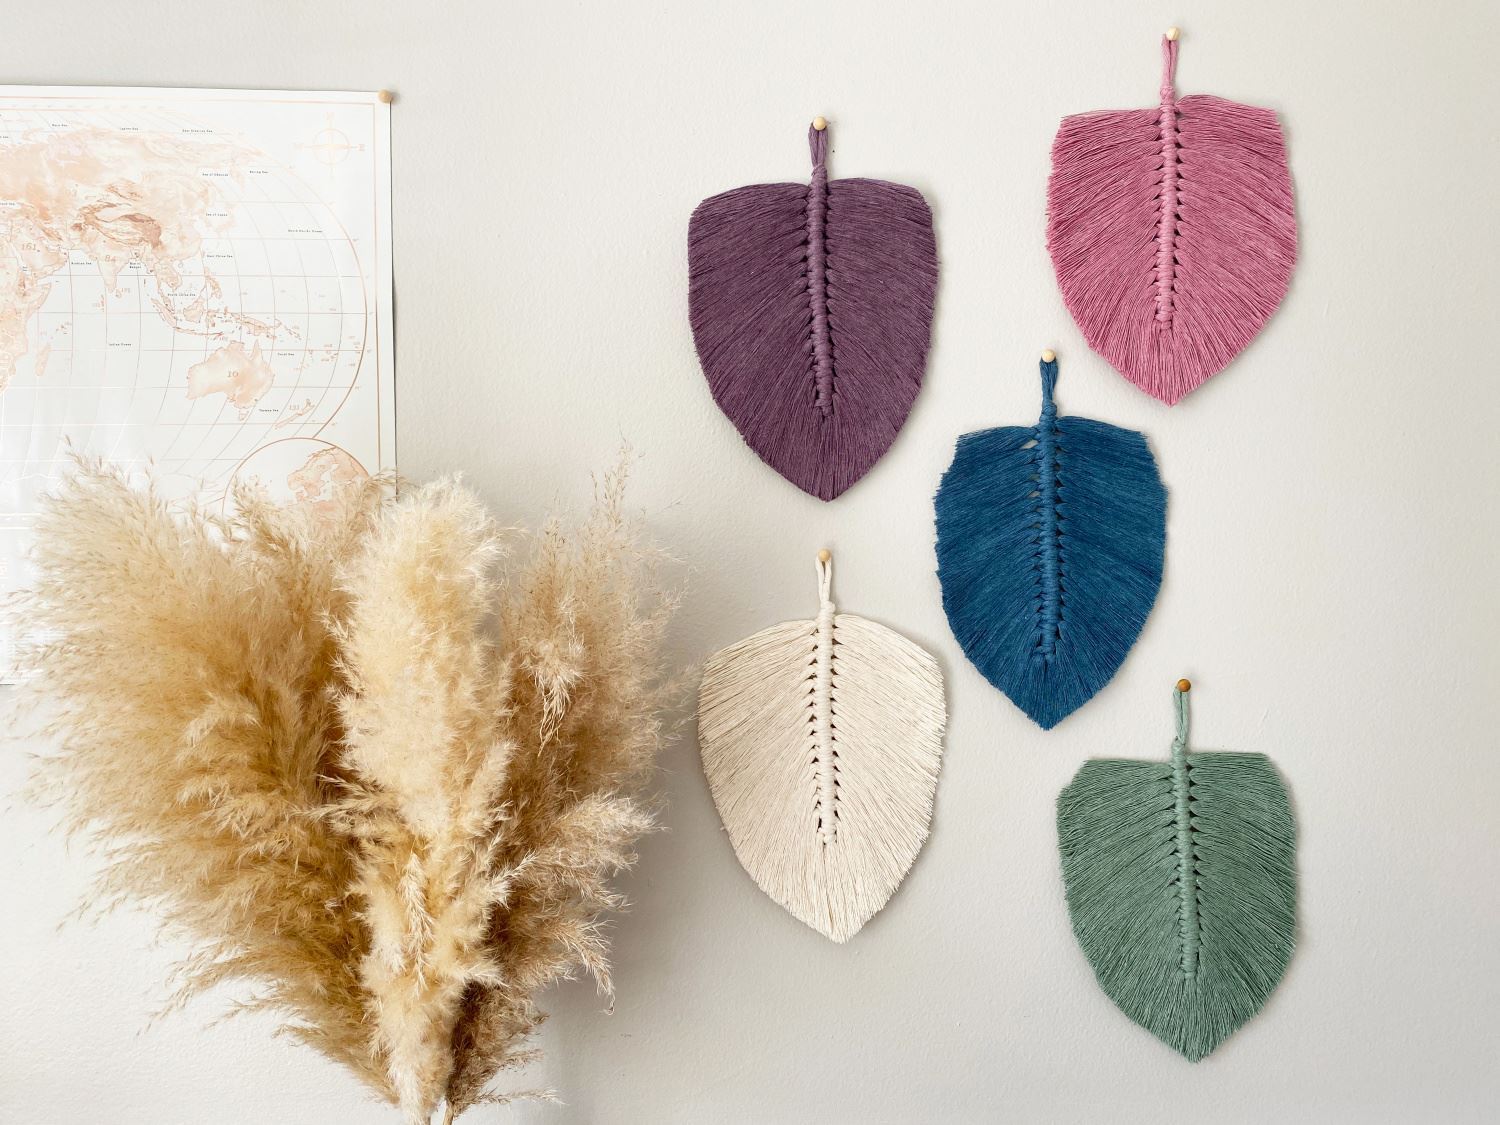
In the mood to spruce up your space with color and comforting touches? So are we! Fiber art is a great way to decorate with unique texture that’s on the softer side of home décor, but still makes a statement. That’s why we tapped the incredibly creative Knots and Naps for this easy tutorial on how to make a macramé leaf with cotton rope. Combined with Aleene’s Stiffen Quik Fabric Stiffening Spray, you can create an entire set of macramé leaves for colorful wall art with a pretty, nature-inspired boho vibe. Let’s get started!
What you need:
- Aleene’s Stiffen Quik Fabric Stiffening Spray
- 4 mm single twist cotton rope – desired colors
- Sharp fabric scissors
- Hair comb
- Pet brush
- Clipboard
- Measuring tape
- Rotary cutter
- Self-healing mat
- Heavy paper
Step 1 
Are you ready to learn how to make a macramé leaf? You’ll want to complete each of the following steps for each leaf you plan on making. Per leaf, from the cotton rope, cut one (1) spine piece 25” long, 24 pieces 10” long, and six (6) pieces 9” long, for the leaf portion.
Step 2 
Fold the spine rope in half. Tie a simple knot at the top by looping the bottom of the rope through the top and pulling to tighten. Leave a 1.5 loop at the top for the hanger. Attach spine to clipboard.
Step 3 
Fold a strand of 10 rope in half and place underneath the spine piece clipped to the board.
Step 4 
Use a “reverse lark’s head knot” by taking the ends of the rope and pulling over the top of the spine piece and threading through the loop on the other side.
Step 5 
Continue to pull the ends through the loop to tighten and create a knot. Push towards the top.
Step 6 
Repeat this process with the additional 10 strands of rope, alternating sides.
Step 7 
Continue to attach and tighten the 10 strands of rope towards the top of the leaf. Once all 10 ropes are attached, repeat the process, attaching the remaining six 9 strands of rope under the 10 strands. Leave approximately 3 of the spine piece at the bottom.
Step 8 
Flatten the rope strands out on your clipboard and use scissors to do a rough cut in the shape of your leaf. Use a pet brush to comb out the rope, including the spine. Flip leaf over and brush out the back side as well.
Step 9 
Transfer the leaf to the self-healing mat, then use a rotary cutter to shape the leaf with defined, clean edges. Flip over and use the rotary cutter again to trim excess strands.
Step 10: 
Place heavy paper underneath your macram leaf, then spray the entire leaf with Stiffen Quik until its damp. Note: Cotton rope will twist when damp; this is normal.
Step 11 
Use your hair comb to brush out the strands of rope and reshape the leaf. Flip the leaf over and reapply Stiffen-Quik generously onto the other side. Use the hair comb to again brush out the fibers.
Step 12 
Let the leaf dry for one hour, then check for stiffness. Reapply Stiffen Quik to the front and back of leaf. Brush and shape, and let dry for one more hour. Check and reapply as necessary for desired stiffness.
Step 13 
Once all of your macram leaves are dry, hang them up and enjoy your fabulous boho wall art! Now that you know how to make a macram leaf, what else would you create with your leaves? What other fabric projects are you using Aleenes Stiffen Quik for? Tag us on social @aleenesdiy and share with us!


